Web tracking: Google Tag Manager
 Updated
by
Anton Lauritsen
Updated
by
Anton Lauritsen

Please only implement the scripts below IF you are currently using the legacy version 1.0 of Dreamdata's Web Tracking script. Otherwise, we recommend using the new Web Tracking script, version 2.0, which has built-in support for form tracking, intent sources and other integrations.
In this article, we'll cover the necessary steps taken to properly set up your website tracking by using Google Tag Manager.
We recommend that you do two separate tags. One for the web tracking (as shown below) and one for the form tracking (find out more here).
At Dreamdata, we recommend you do this manually. Check out this article.
- To set up web tracking using Google Tag Manager start by opening up Google Tag Manager.
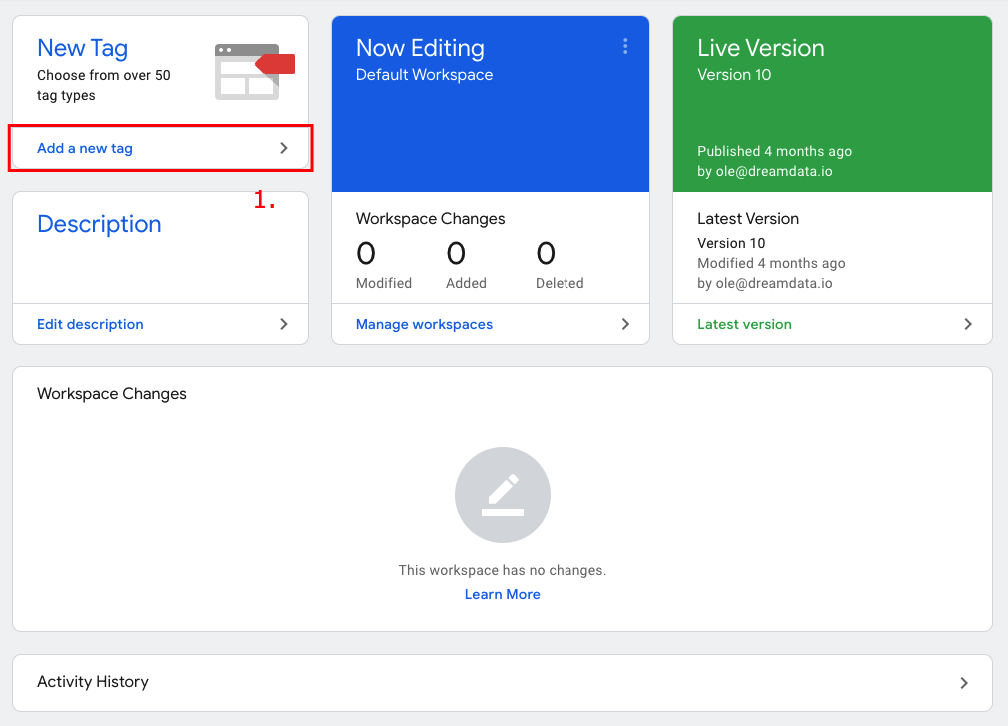
- Open up Google Tag Manager and click on 'Add a new tag'.
- Name the tag in the top left corner e.g. Dreamdata Web Tracking and then click on 'Tag Configurations'.
- Pick 'Custom HTML' from the list under the header 'Custom'.
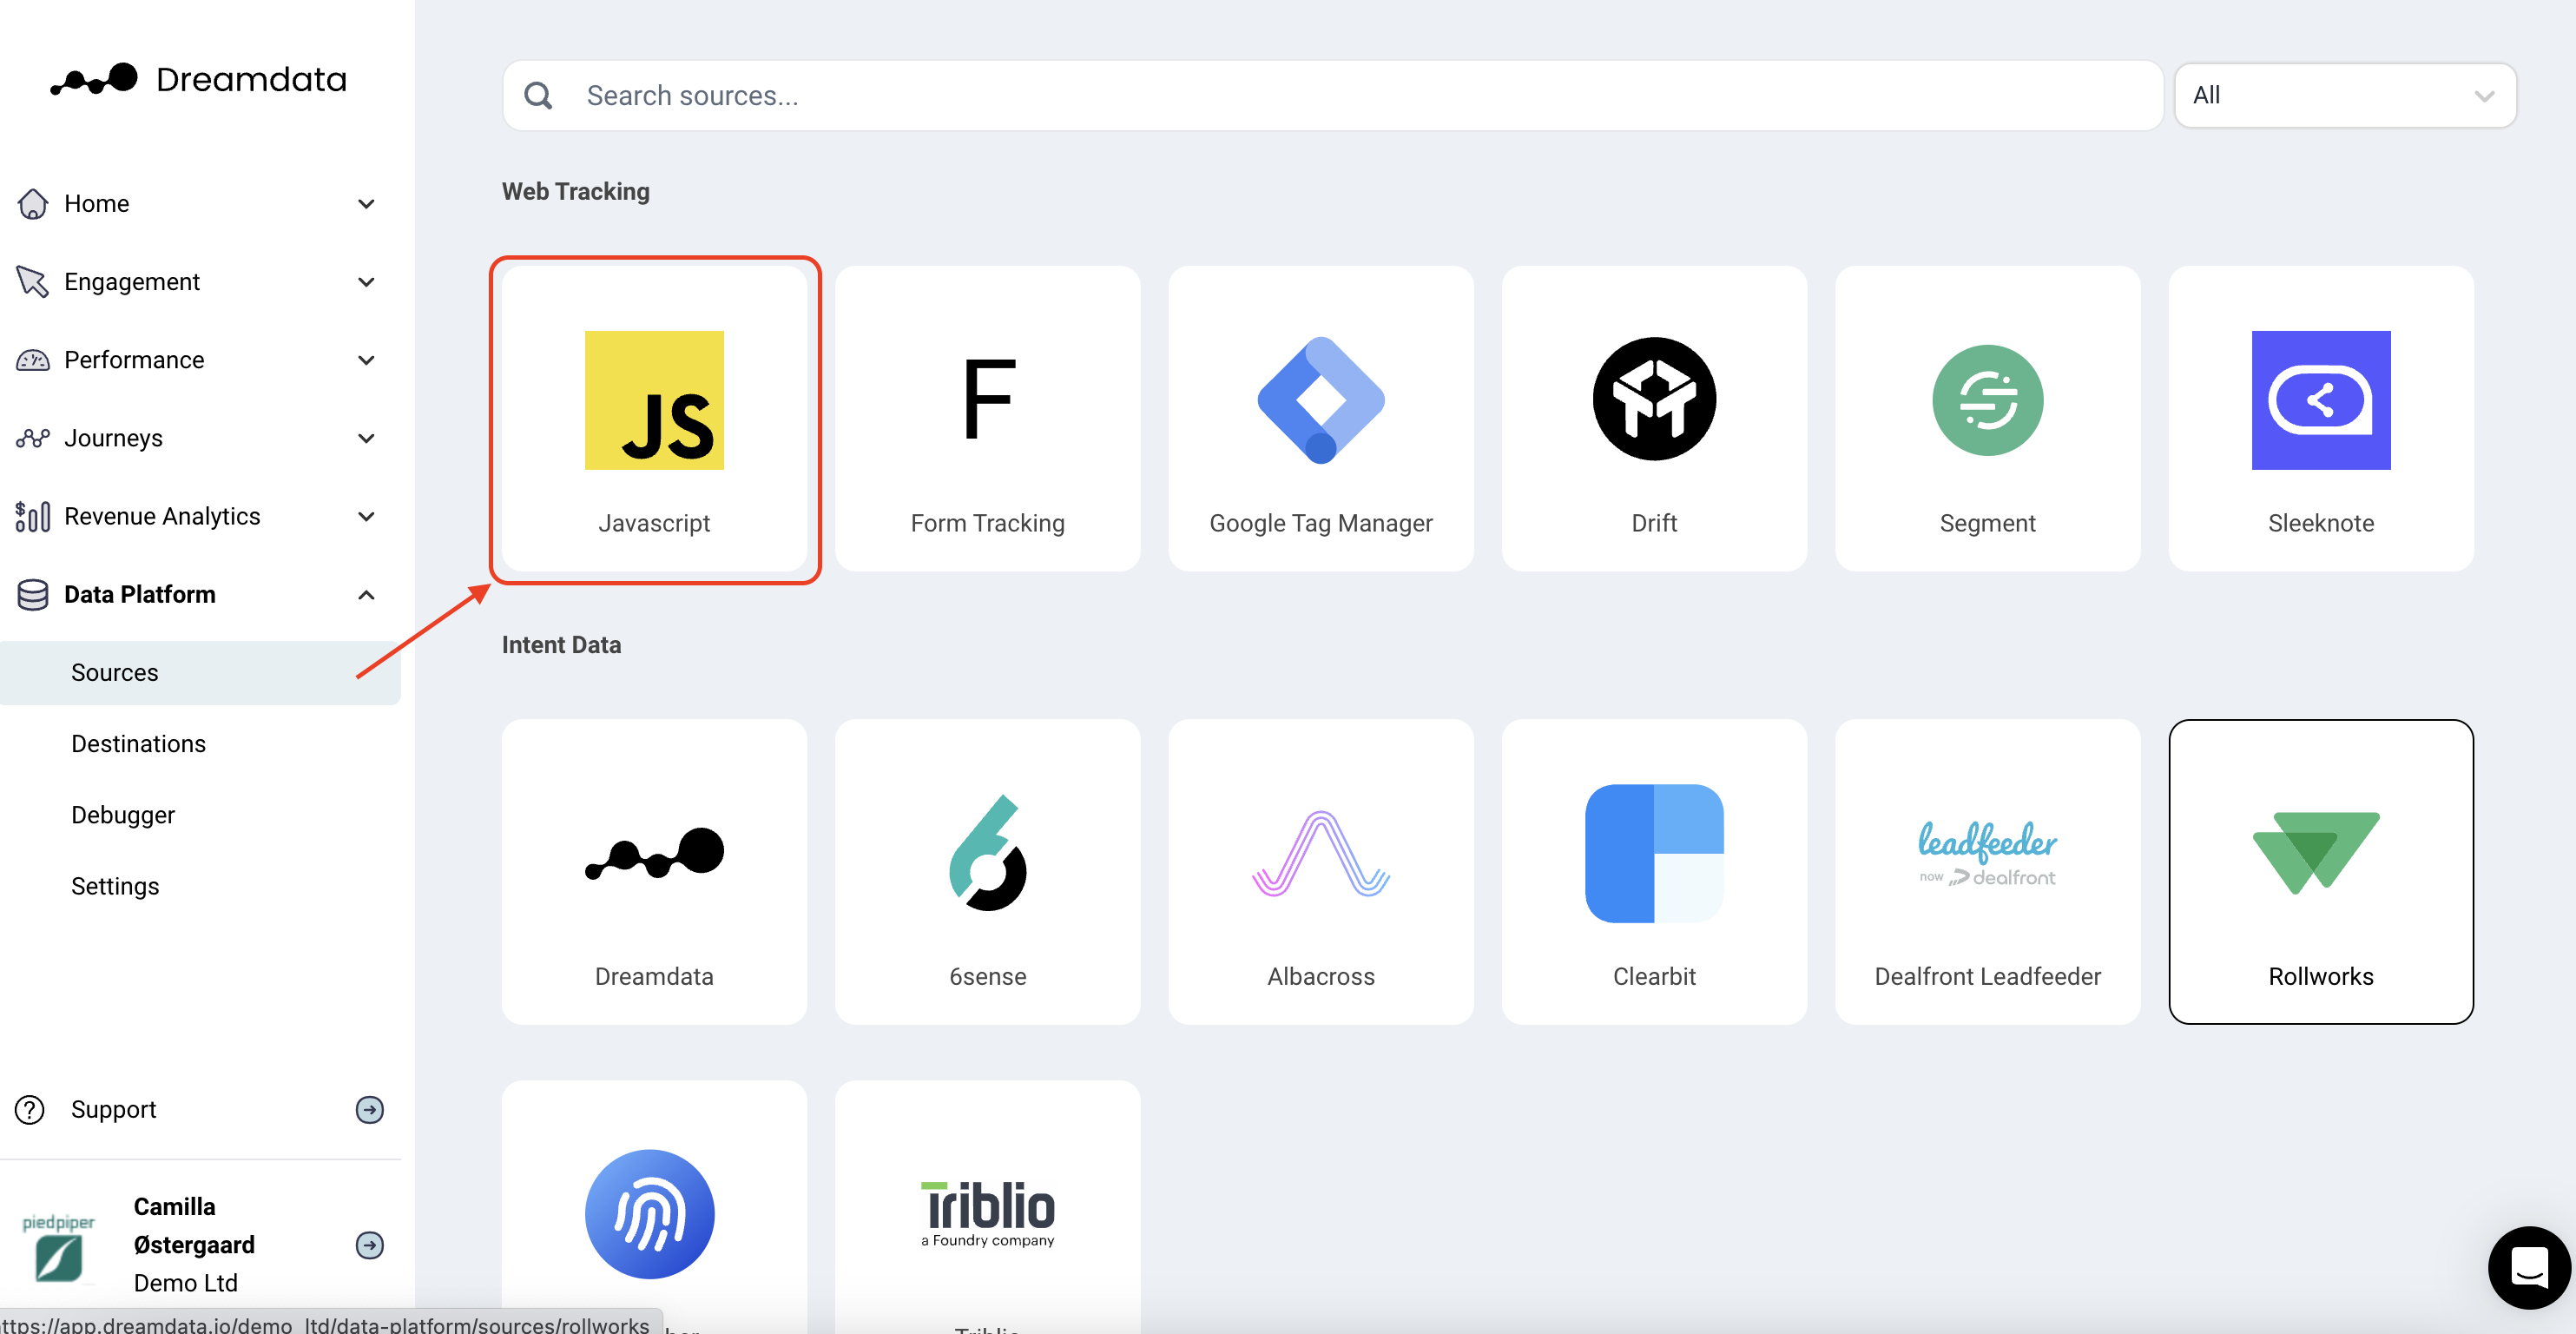
- Go to your Dreamdata account and click on Data Platform -> Sources --> Java Script

- Copy the custom script and paste it in, as showed in the image below:
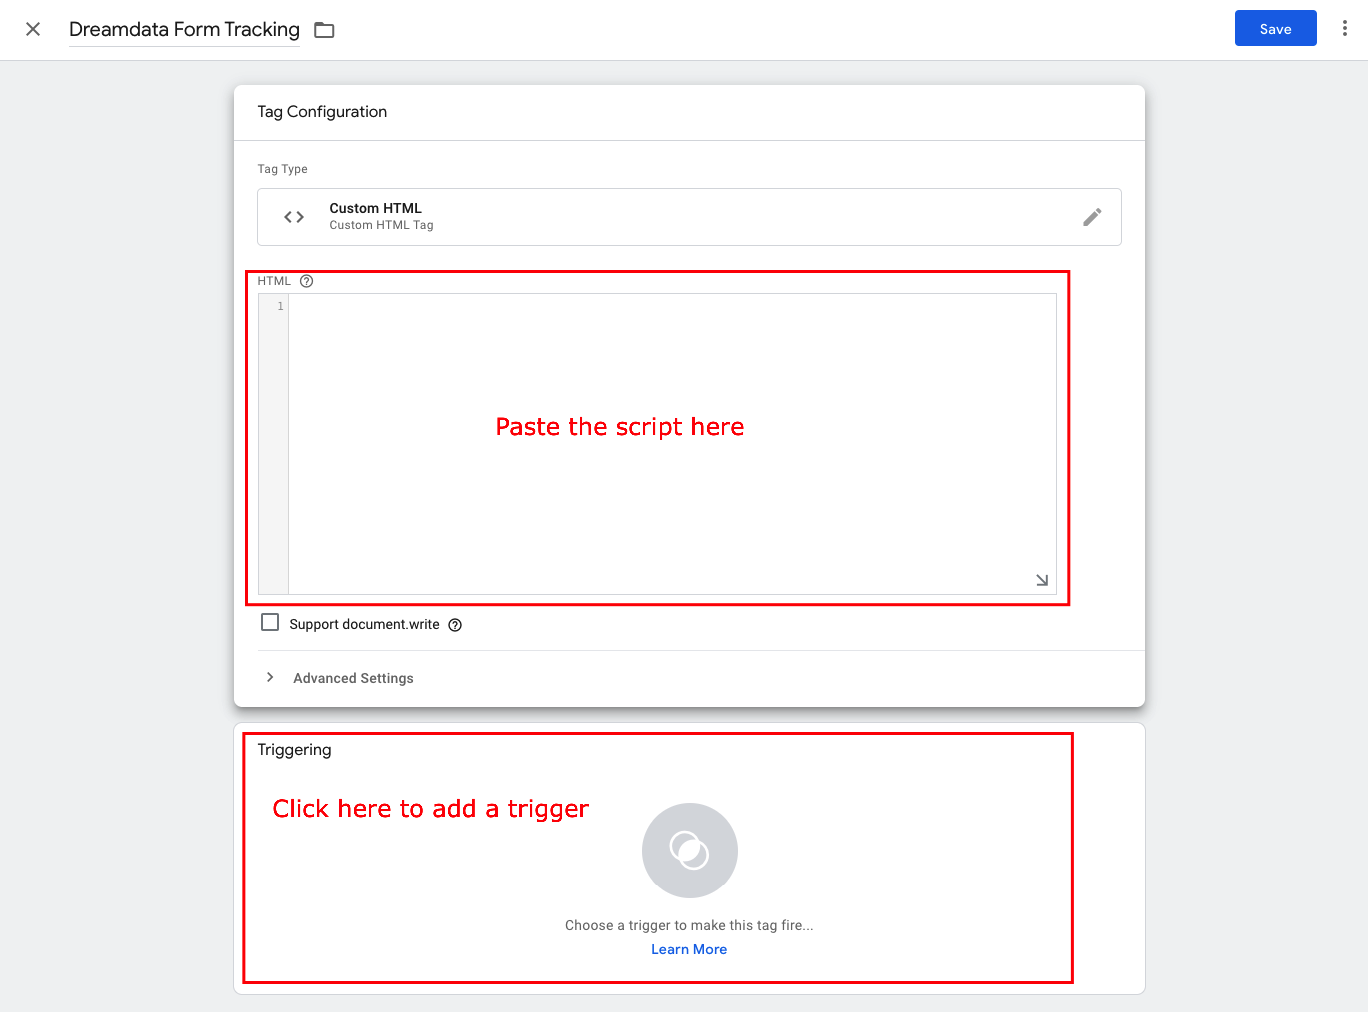
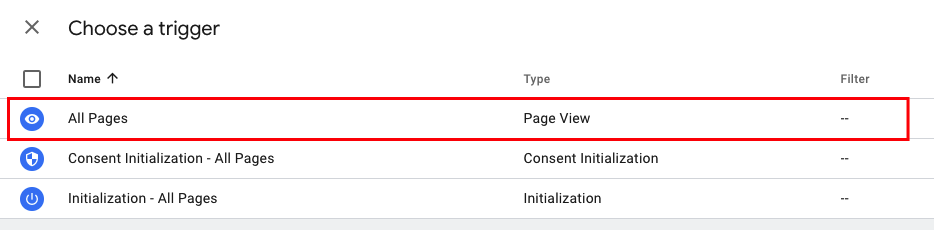
- Now click on 'Triggering' just below from where you added the script and pick all pages as a trigger.
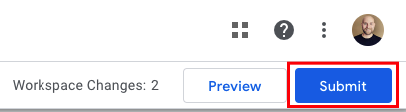
- Click: Save, in the top right corner.
- The last thing you need is to submit the tag to your workspace by clicking: Submit in the top right corner of the home screen:
- The tag will now immediately start firing.
- Test if you have submitted the script correctly by visiting the Javascript widget once more:
- At the bottom of the page, assuming you have added script correctly, you will start seeing events coming in.
We are always here to help so please reach out to friends@dreamdata.io with any questions or requests!
Thank you!