Setting Up Dreamdata
 Updated
by
Aiting
Updated
by
Aiting
In this article, we will cover the 3 initial steps of setting up Dreamdata.
- Connect the Sources
- Set up configurations
- Validating your Data
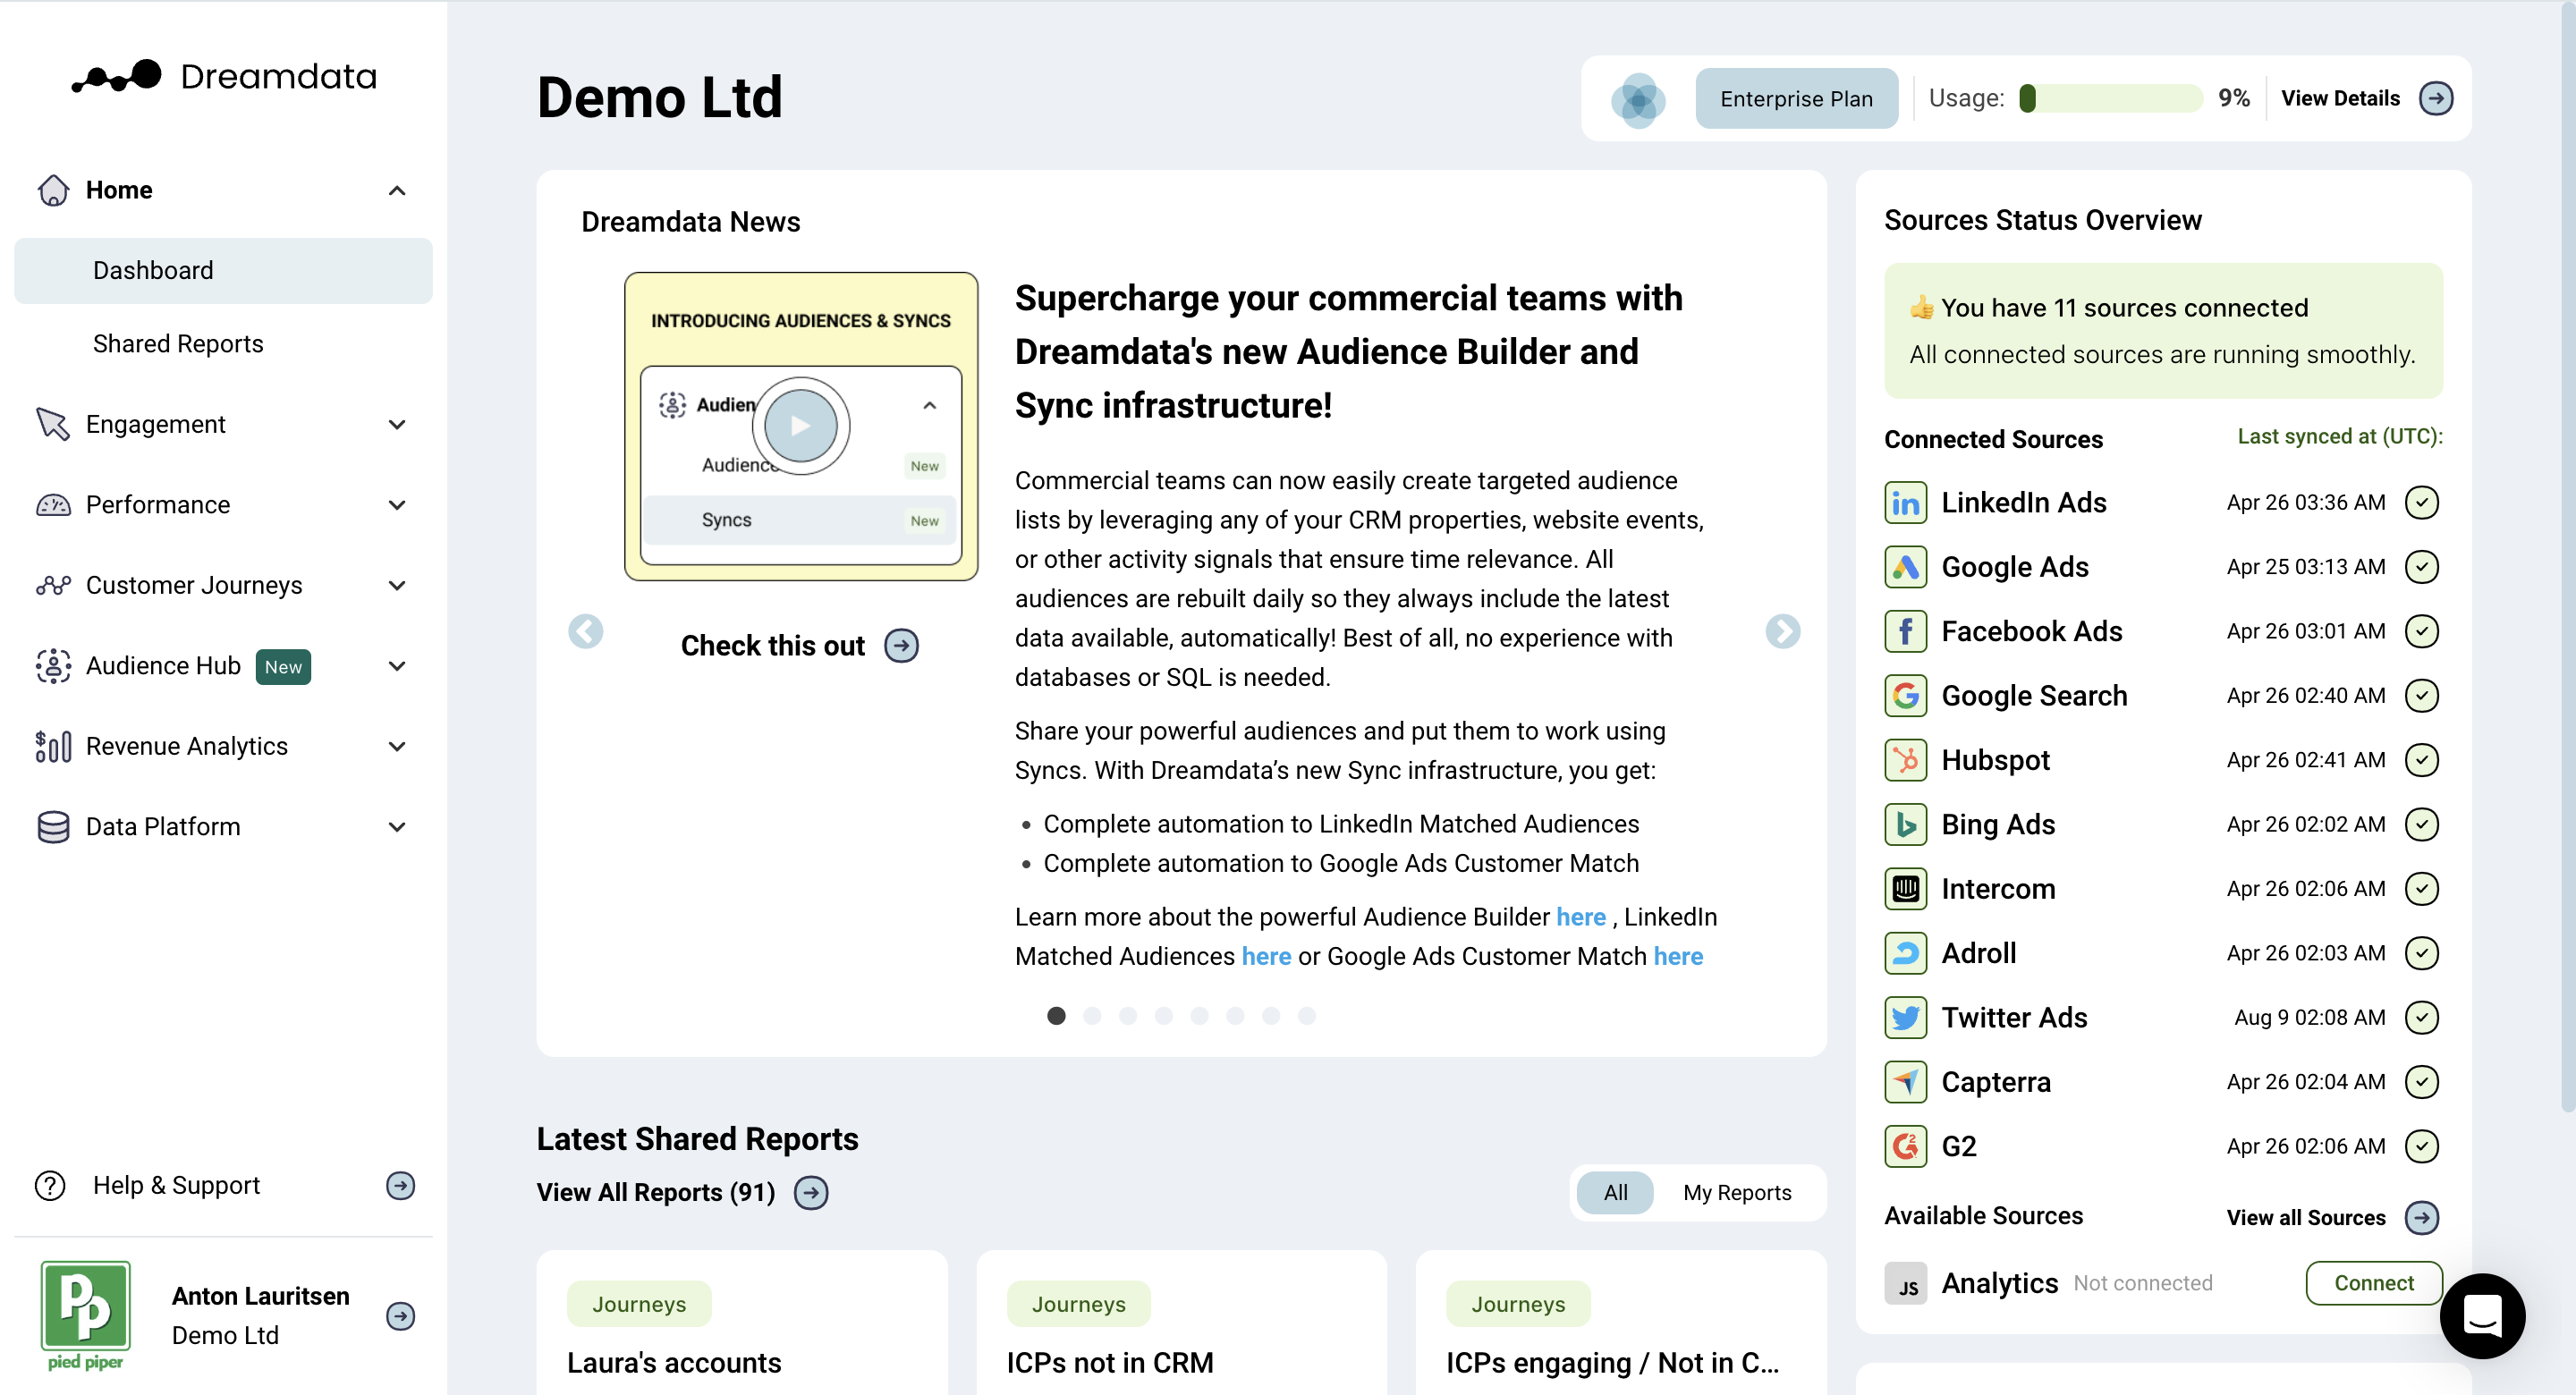
Connect the Sources
Connecting sources enables Dreamdata to gather data from all kinds of places, from your website and CRM to your existing tech stack tools. You'll find all available sources under Data Platform -> Sources.
Website Tracking
A major part of your customer’s journey happens through your website, so it is critical that we track all your visitors via a tracking script you add to all your pages. For a more technical documentation check out our dev docs.
If your site is built as a Single Page Application (SPA), read: How does website tracking work in Single Page Application (SPA)?
If you are already tracking with Segment, read: How does website tracking work with Segment?
After that, continue to Connect Your Tech Stack.
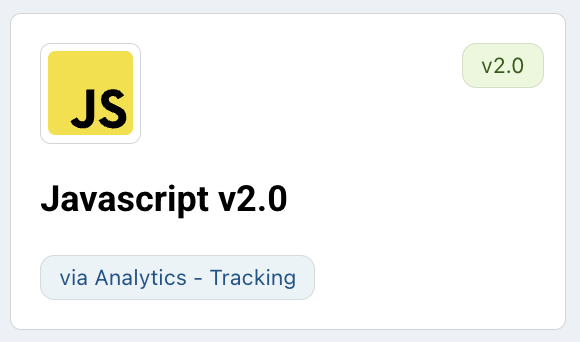
- Create your Script
You can generate your web tracking script by going to Data Platform -> Sources -> JavaScript v2.0. As you click through your tracking options, make sure to select which type of forms, intent data, and other products you would like to be tracked with our script as well.
- Add the Script
You can add the generated script to Google Tag Manager, or after the<head>tag on each page of your site.
If adding this via Google Tag Manager you'll need to be sure to add the right setting in your Cookie Management Platform (CMP) so that these are compatible with Dreamdata tracking. Check out the docs we have on the most common CMPs here. If you don't find yours in the list either check your CMPs site, or feel free to reach out to your Customer Success Manager for help. - The website tracking is set!
You should see website traffic starting to show in Data Platform -> Debugger about 24 hours after this is integrated.
Forms Submission Tracking
Visitors on your website will remain anonymous until they identify themselves through a form submission (demo requests, contact forms, newsletters, sign-ups, logins). This critical puzzle piece allows us to connect a contact from your CRM to their website traffic.
Most forms can be captured with the previously generated tracking script created in Data Platform -> Sources -> Javascript v2.0. For forms with iframes or calendar forms, refer to the linked Developer Guide. If you're using embedded HubSpot forms, make sure to include them during the tracking script generation step above.
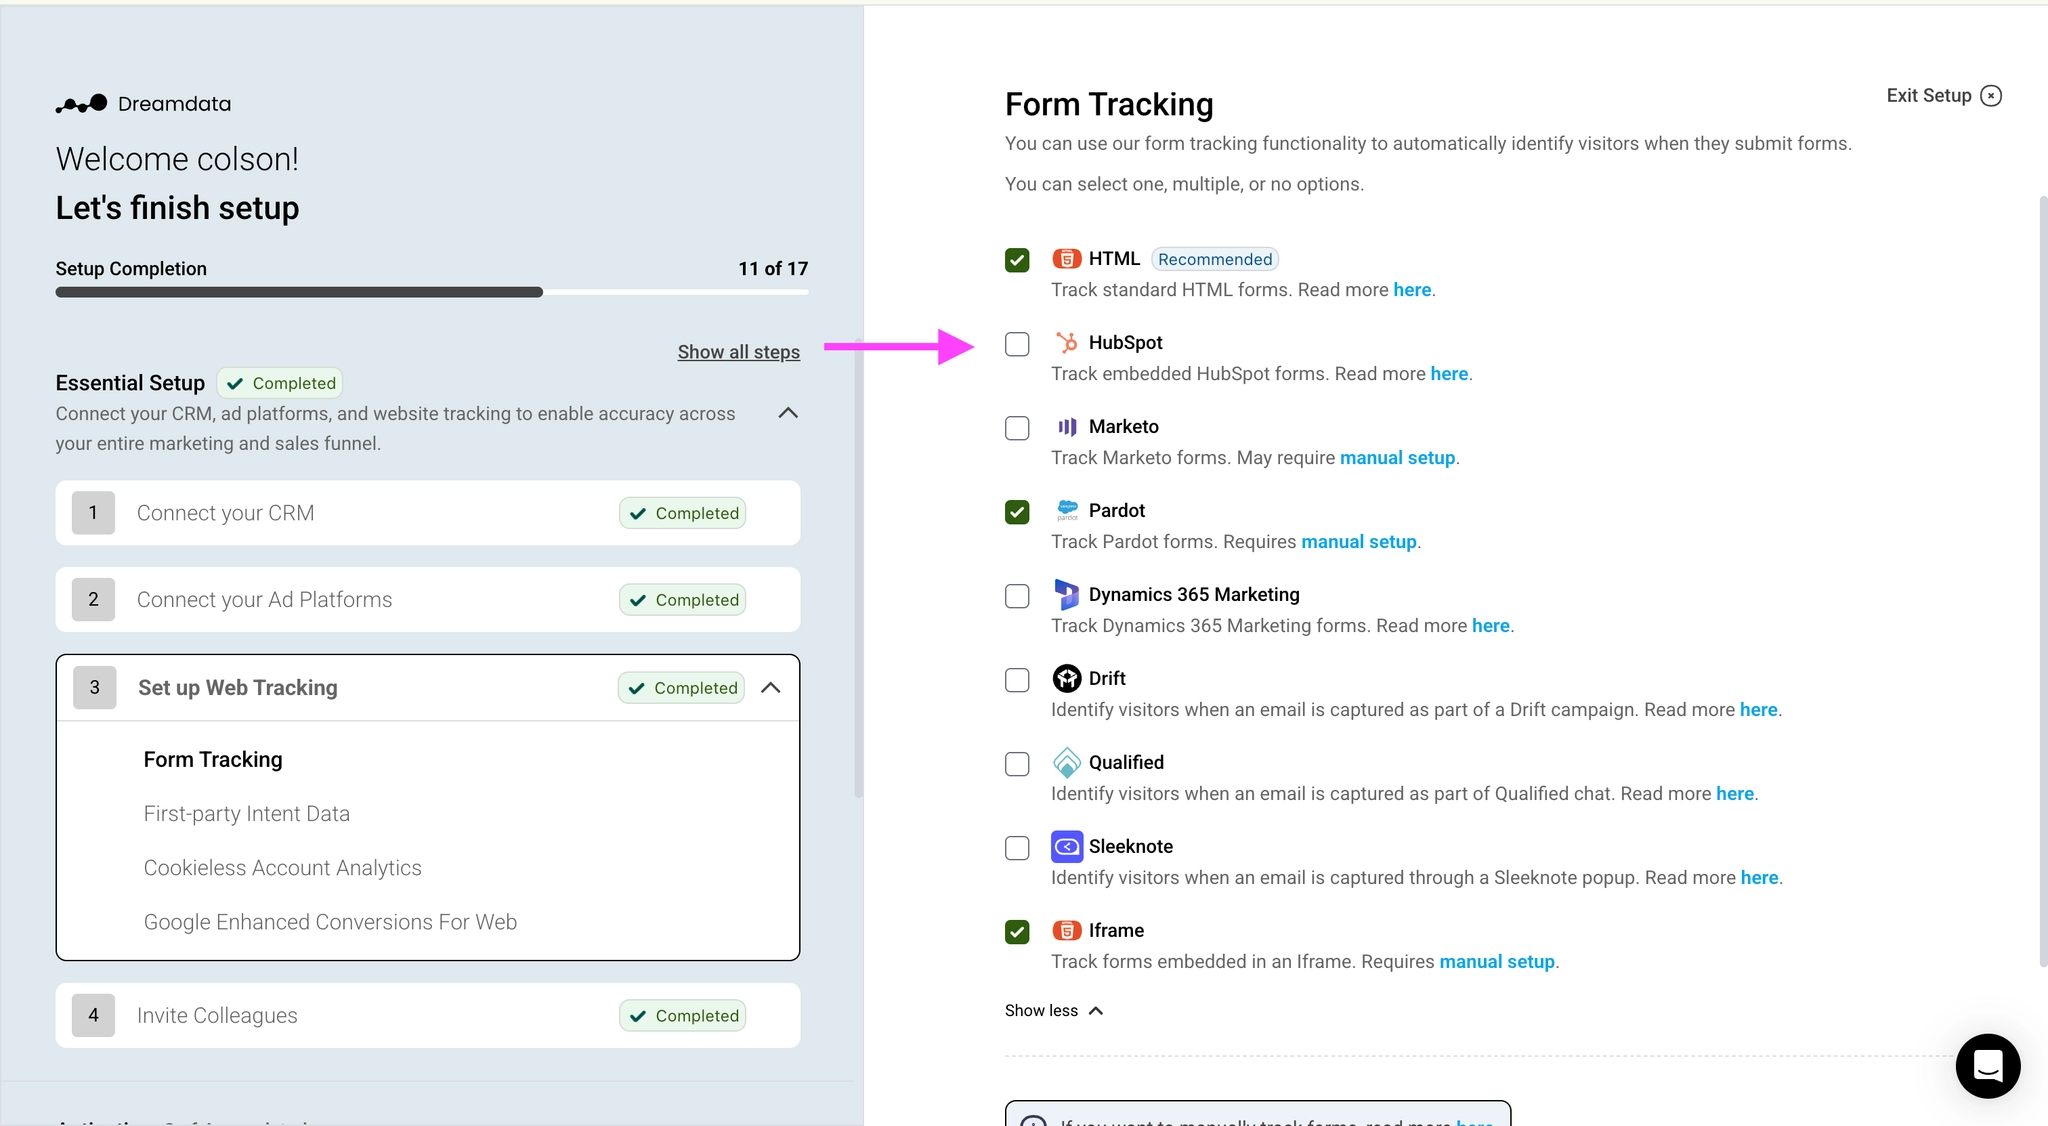
Please check if the forms are being tracked by the previously generated tracking script; otherwise, you may need to take additional steps.
Read more on what forms are tracked automatically by the tracking script, and what requires extra steps on the Form Tracking page. Click here.
If you have access to a developer, you can also consider implementing manual tracking for all forms to ensure a more reliable result. Read more here.
Tracking Clicks
You can also track other interactive elements, such as buttons, links, video plays, PDF downloads, etc., that the Dreamdata script does not capture out of the box. You may need to involve your Web Developer for the installation.
Connect Your Tech Stack
Once you have properly set up your website tracking, it is time to plug your tech stack into Dreamdata, particularly your CRM. Within the Data Platform -> Sources tab, you can find our full library of sources.
If we are missing a key source for you, please let us know. We are always interested in expanding our offering.
For each source, we require an admin user to authenticate their account and permit us to access it. If you need to invite another user to do this, you will be able to invite them within your Account Area.
Set up Configurations
This ensures you configure how the data should be interpreted by Dreamdata to cater to your business needs.
In this video, you'll get a quick look at all tabs under Data Platform > Data Hub, including the event builder, UTM mappings, conversions, content categories, stage models, attribution models, and data modeling schedule. It also covers the general settings under Data Platform > Settings.
Validating your Data
Once you have connected your sources, it is important that you check your data to ensure that you are capturing all of it. You can learn how to validate your data here.
In this video, you'll learn how to validate the following data types:
- Web Tracking
- Ad Spend
- Stage Models
- Ad Tracking
That’s it! Once you have covered these areas, you have laid a great foundation for your Dreamdata journey to really uncover your customer journey and see what is actually driving revenue!
FAQ
How does website tracking work in a Single Page Application (SPA)?
If your site is built as a Single Page Application (SPA), then you will not be able to use the generated script.
Tracking Single Page Applications necessitates technical expertise and direct access to the codebase. It cannot be implemented through Google Tag Manager (GTM) or any analogous platforms.
How does website tracking work with Segment?
If you are already tracking with Segment, we can integrate and pull that data. Just go to Data Platform -> Sources -> Segment to connect, and then refer to Segment's Dreamdata Destination article here.
You should avoid using both the Dreamdata script and Segment, as this could result in duplicate data being tracked.