Setting up Microsoft Ads
To populate Microsoft Ads dashboards with data, you need to enable the Microsoft Ads integration.
Setting up Microsoft Ads
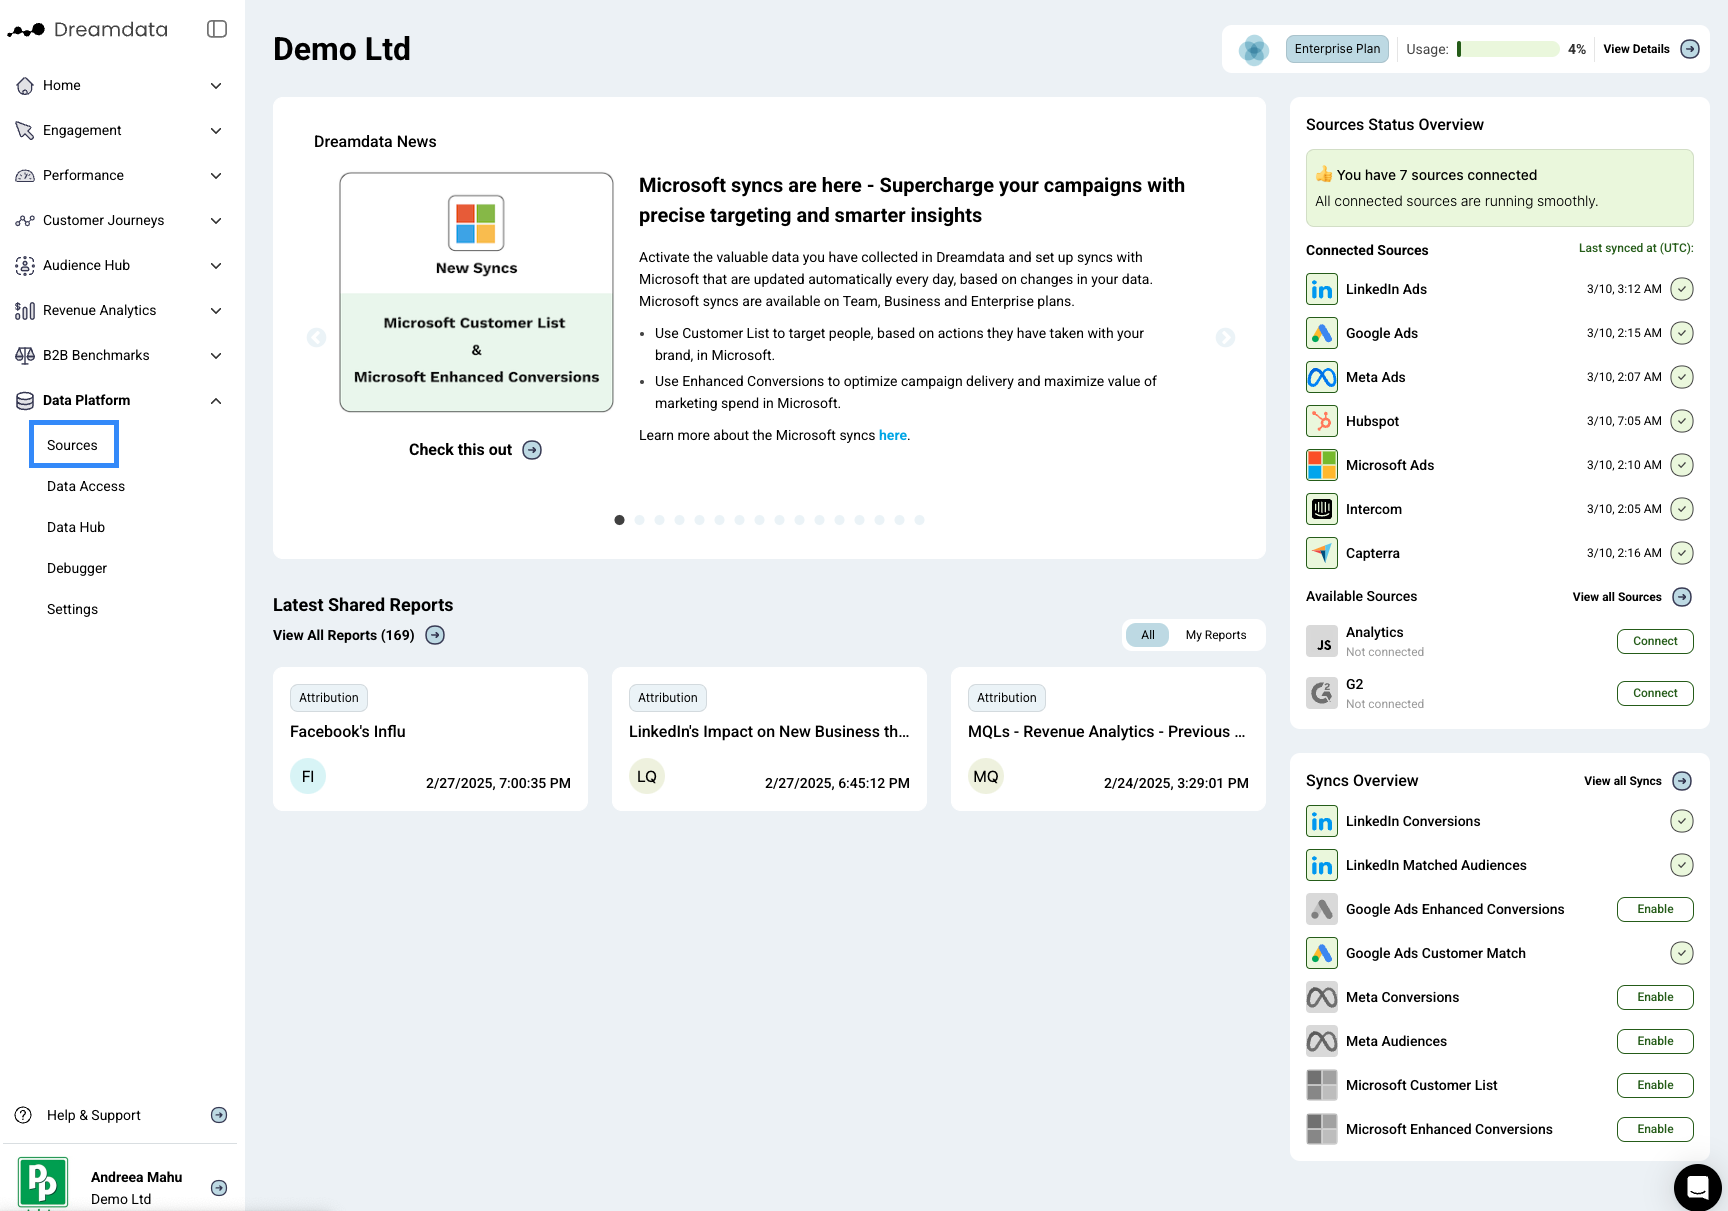
- On Dreamdata's main menu, click on Data Platform and then select "Sources".
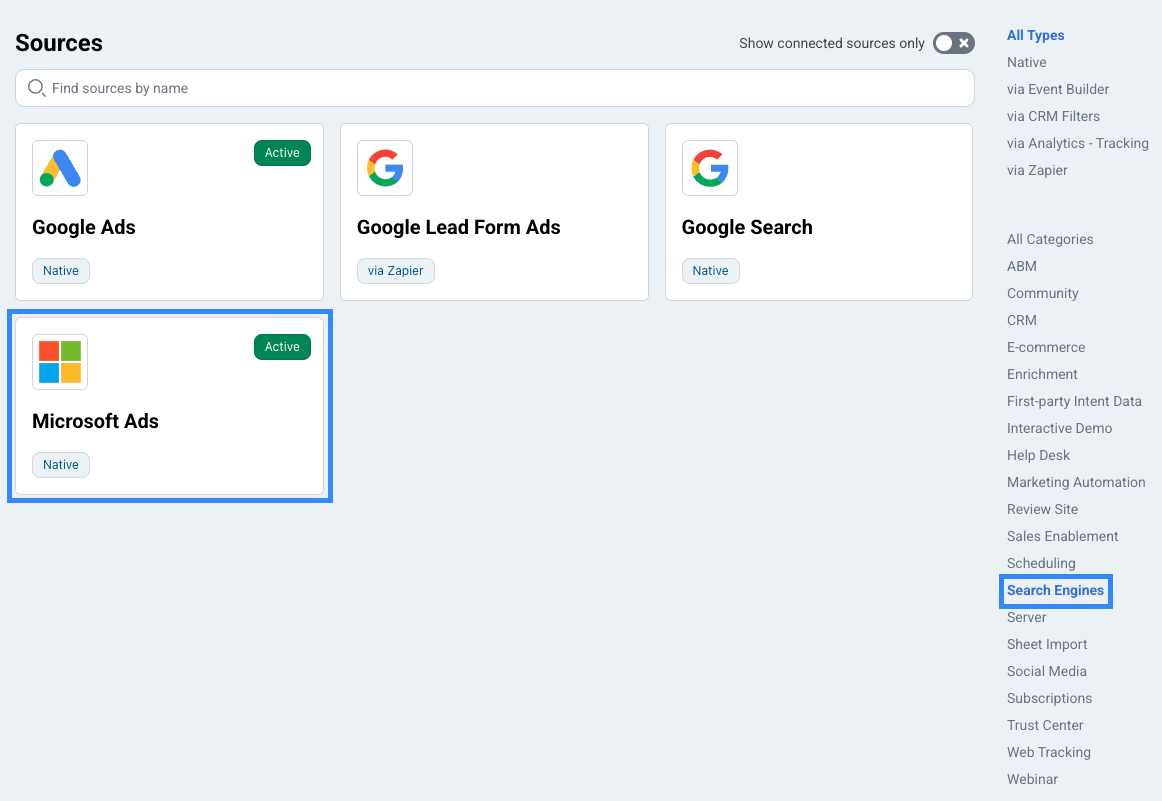
- On the Sources page, select "Microsoft Ads", either from the Search Engines category or by searching for it, using the search bar.
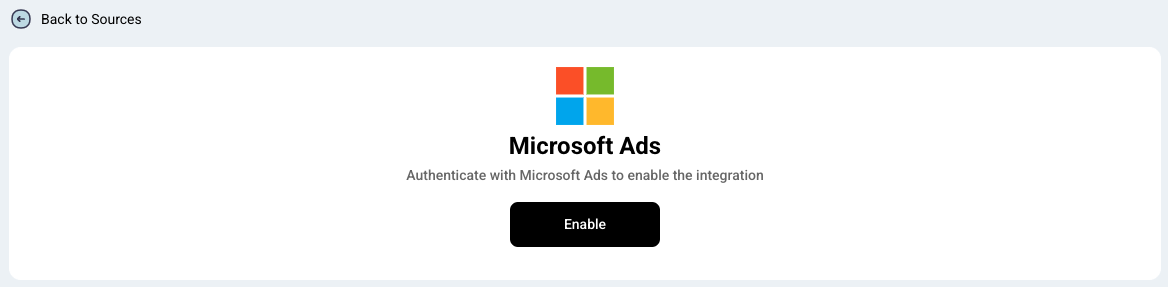
- Click "Enable" (a new tab will open).
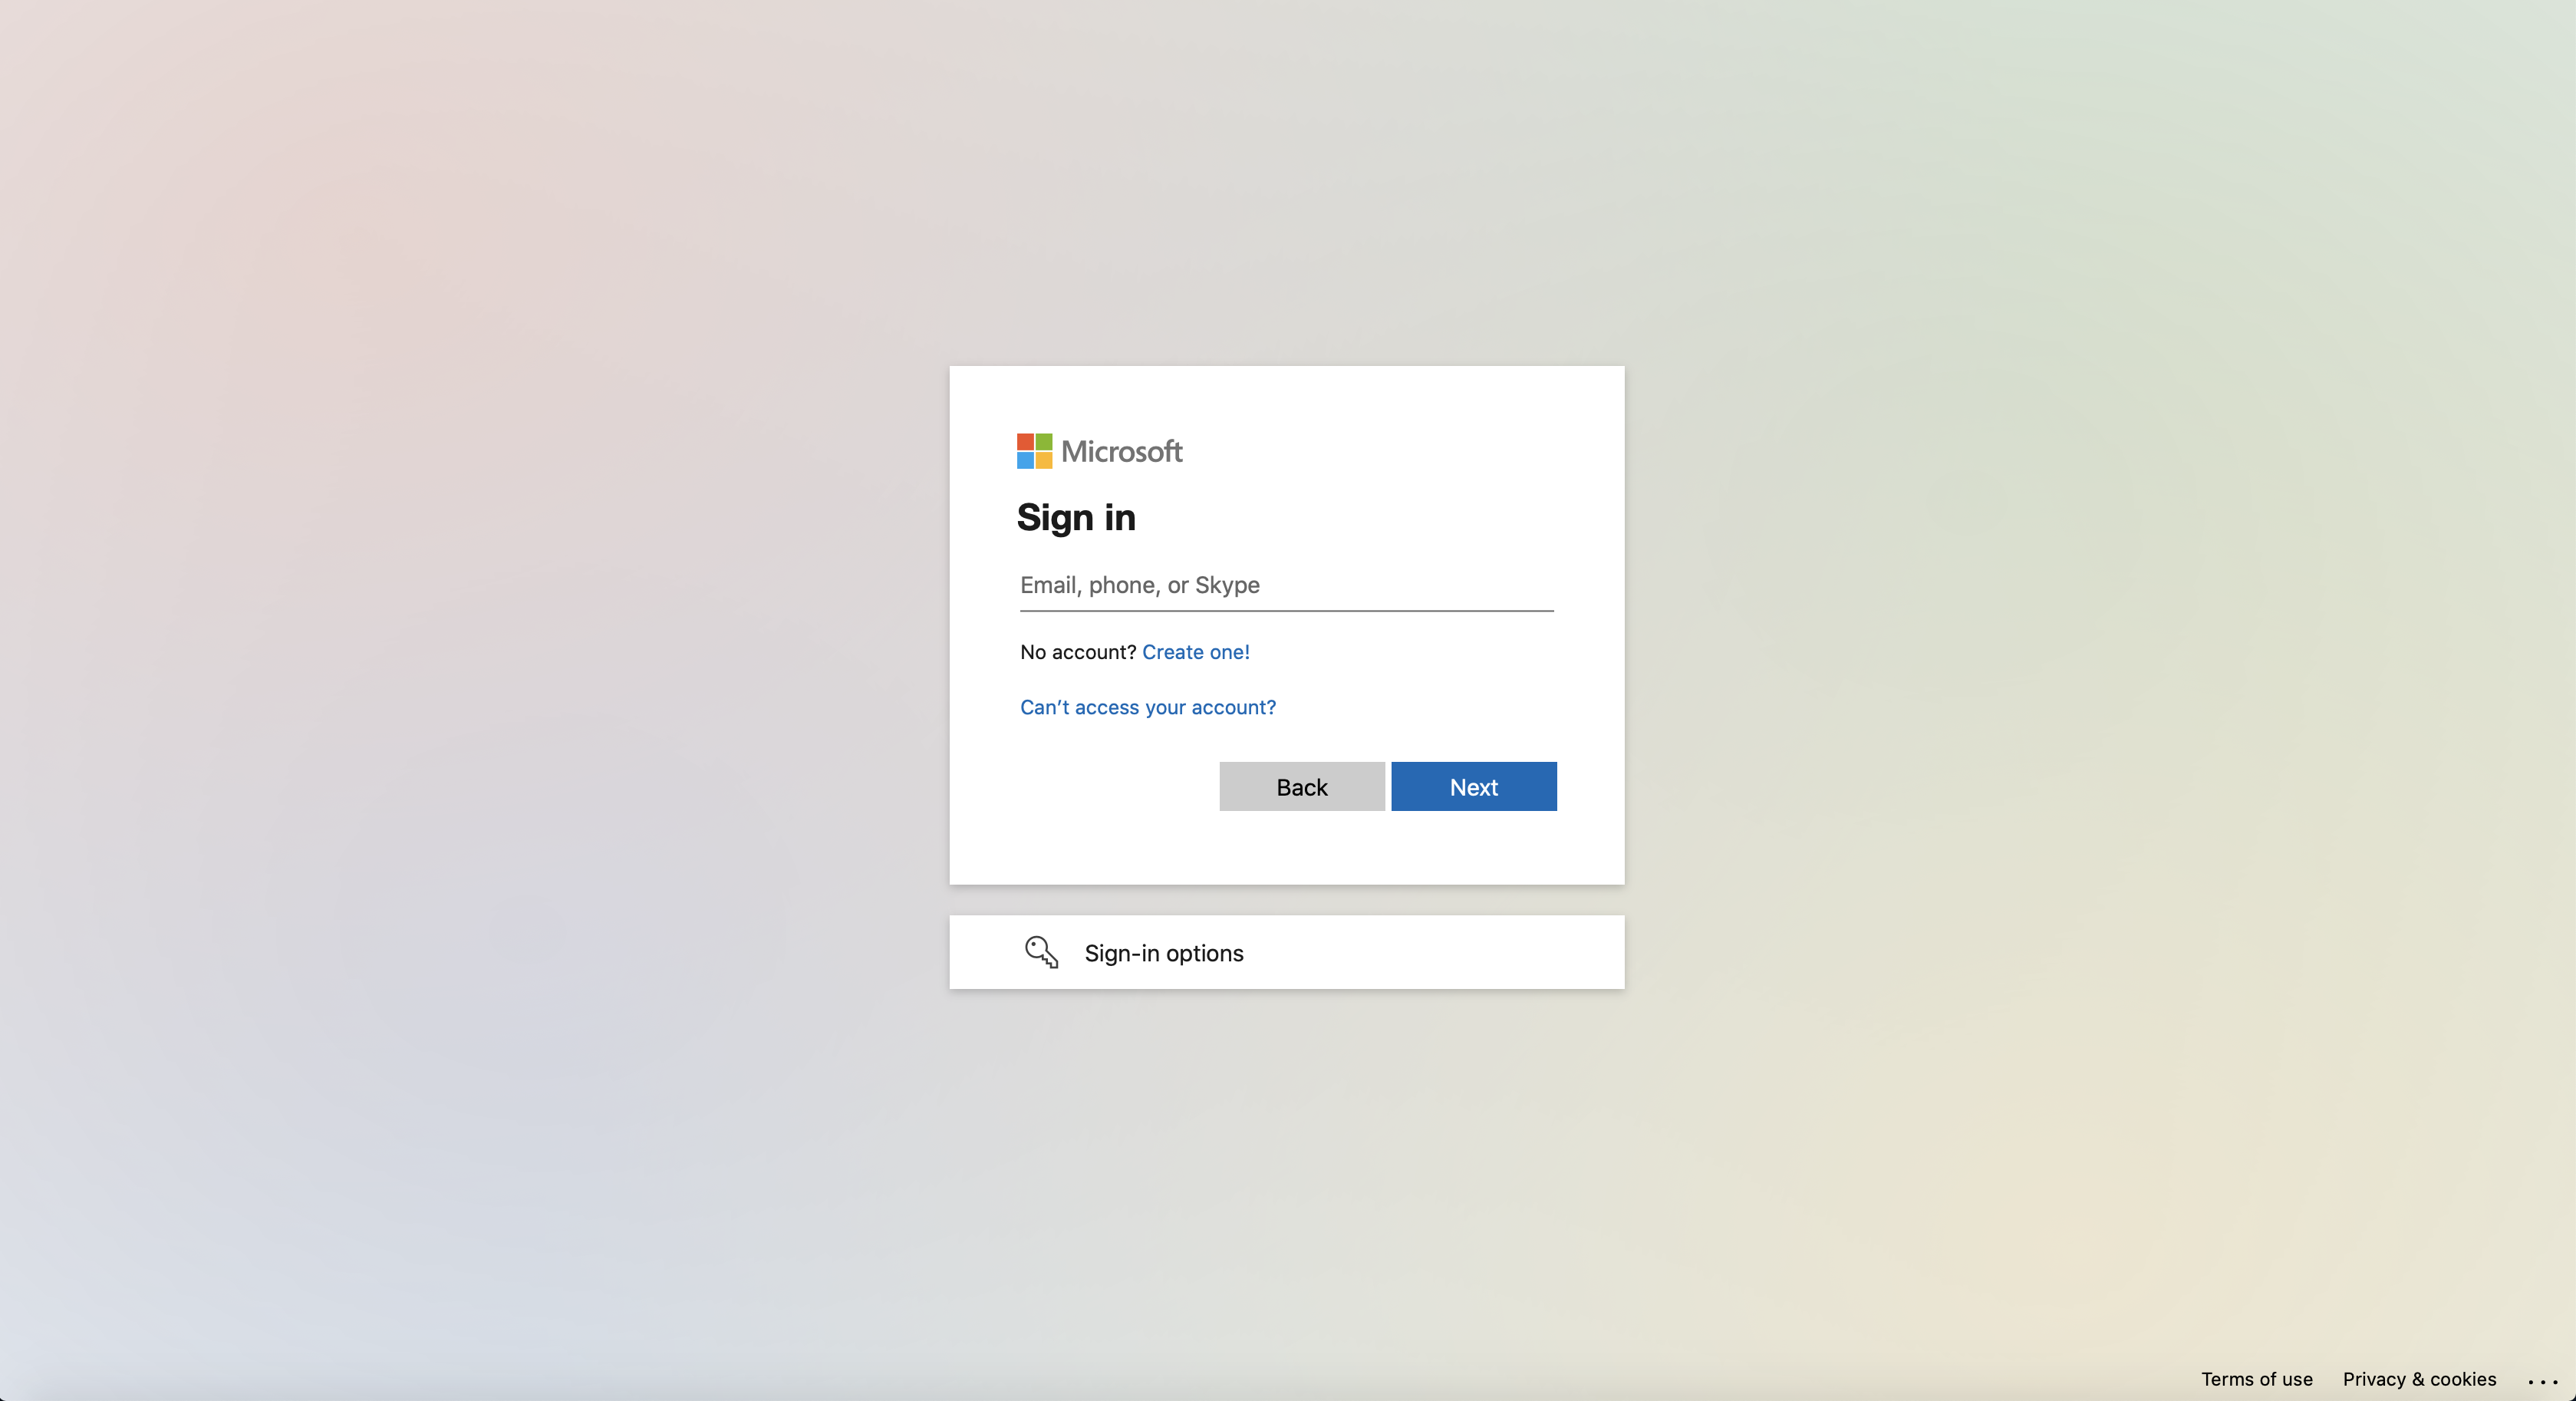
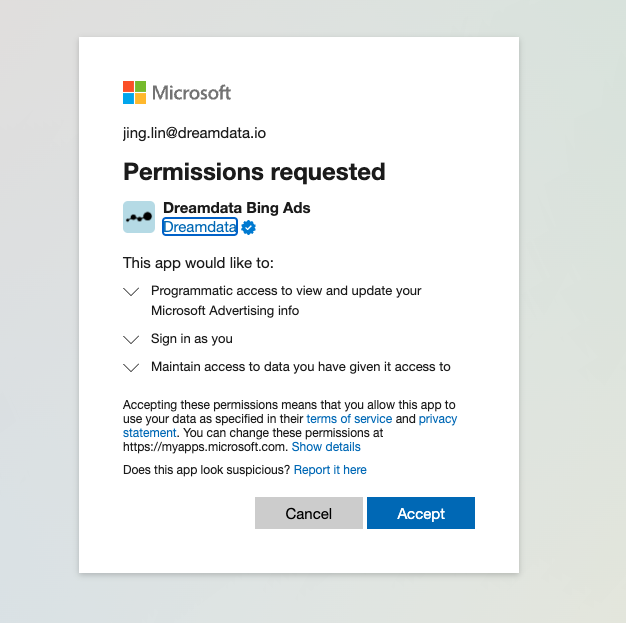
- In order to proceed you need to be signed into your Microsoft Account.
- Grant Dreamdata access to manage your Microsoft Ads and related info. Click "Yes".
- Make sure relevant accounts are set to "Active" and click "Save".
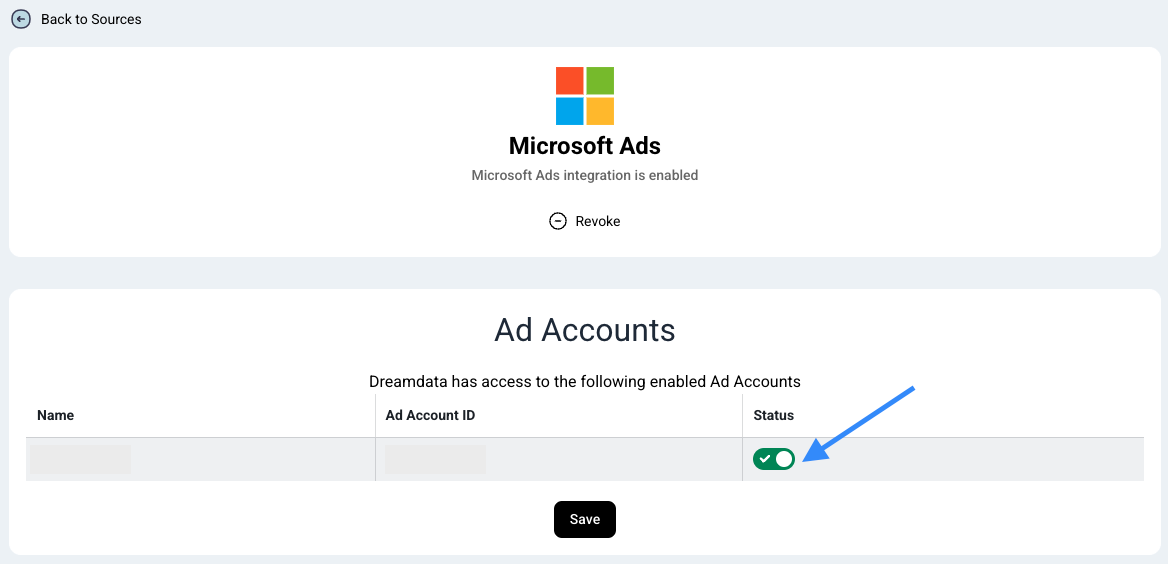
- You're all set 🔥 It can take up to between 24 – 48 hours before data begins to appear.
What data do we get from Microsoft?
Daily campaign performance which contains daily cost, clicks, impressions for each campaign. Dreamdata will use all the historical data available for your plan.
Permissions
Make sure that the user creating the integration has one of the following roles with access to the needed accounts
- Super Admin
- Standard User
- Advertiser Campaign Manager
- Viewer
Tracking
In order for us to properly track your Microsoft Ads, you need to allow for Auto-Tagging within your Microsoft Account. The latest instructions to do so from Microsoft are as follows:
Turn on Auto-tagging of Click ID

Turn on Auto-tagging of UTM
You turn on auto-tagging at the account level, and then Microsoft Advertising automatically adds the UTM tags to the landing page URLs for text ads, keywords, Microsoft Shopping Campaigns, Image Extensions, and Sitelink Extensions.
- From the top menu, select Campaigns > Settings > Account level options.
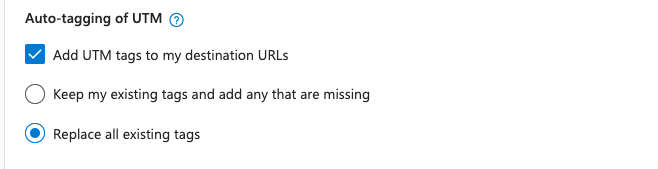
- Next to Auto-tagging, select Add UTM tags to my landing page URLs.
- Choose to either:
- Replace all existing tags (this option will remove any UTM tags you already have).
- Keep the tags you already have and have Microsoft Advertising just add any that are missing (this option will simply add the tags below to your existing tags).
- Click Save.
Add Final URL suffix
- From the left menu, select Campaigns > Settings > Account level options.
- Add ad_id={AdId}&adgroup_id={AdGroupId}&campaign_id={CampaignId}&utm_term={Keyword}&match_type={MatchType}&target={targetid} in Final URL suffix, click Save
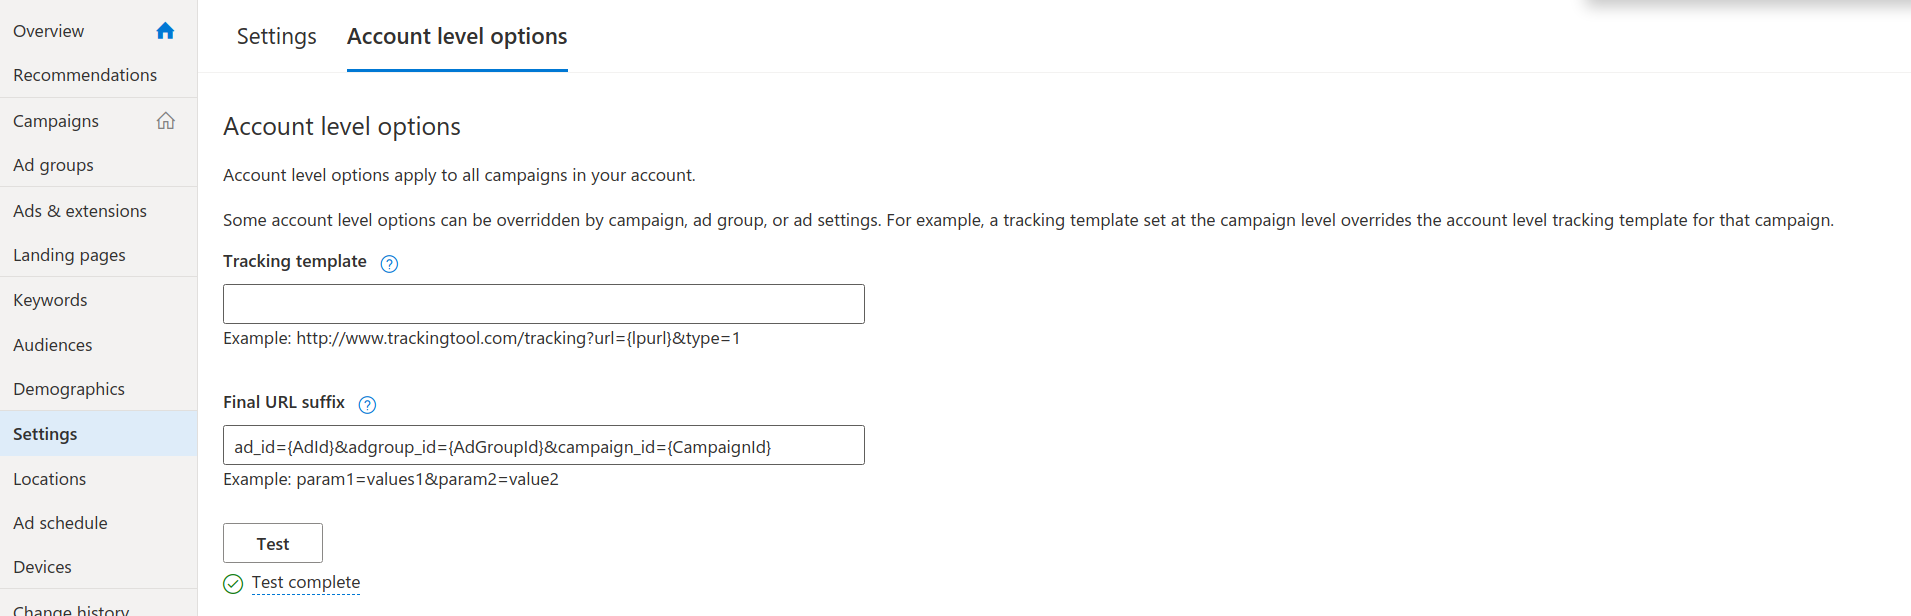
- Click Test > hover over Test complete to see if the url have correct information
- Some account level options will be overridden by campaign, ad group, or ad settings. For example, a tracking template set at the campaign level overrides the account level tracking template for that campaign. We suggest you delete all campaign, ad group, or ad level tracking template settings and only keep account level settings.
Available UTM tags
If auto-tagging is turned on, Microsoft Advertising automatically attaches the following UTM tags (parameters) to your landing page URL when it loads. The tags are added in the order shown below from top to bottom until the maximum length of the URL is reached.
Tag | Tells you |
utm_source | The site that sent traffic to your page. Microsoft Advertising sets this to Microsoft. |
utm_medium | Which channel was used. Microsoft Advertising sets this to cpc. |
utm_campaign | Which campaign the keyword came from. |
utm_content | Which ad group the keyword came from. |
utm_term | Which keyword brought people to your website.For product ads, what Microsoft Shopping product group (Criterion ID) brought people to your ad. |
Full documentation can be found here: https://help.ads.microsoft.com/#apex/ads/en/56762/2-500
Troubleshoot
Can not connect Microsoft Ads
If you do not see the consent screen

Or the following error appears in the URL bar for a short period of time:
The app is trying to access a service (Microsoft Advertising API Service) that your organization lacks a service principal for. Contact your IT Admin to review the configuration of your service subscriptions or consent to the application in order to create the required service principal

Solutions
- If you see the Approval Required screen when connecting:

- Enter justification for requesting this app
- Click Request Approval
- Contact your Microsoft Advertising admin to approve your request
- If the above Approval Required screen does not show up, contact your Microsoft admin. Your admin needs to grant access for Dreamdata Microsoft Ads app using a different method by following this help doc and grant tenant-wide admin consent. The tenant-wide admin consent URL follows the following format:
https://login.microsoftonline.com/{organization}/adminconsent?client_id=505a0afb-b64e-412f-bdbf-74a8079ee173{organization}is the tenant ID. Find your tenant ID by following this doc- The granted permission may take some time to propagate in Microsoft's system. If you are still unable to connect after the permission has been granted, we recommend trying again after 24 hours.
- We have observed rare instances where the 'Approval Required' screen continues to appear even weeks after your Microsoft admin has granted tenant-wide admin consent. This issue stems from an internal Microsoft system problem, not Dreamdata.
As a temporary solution, we recommend granting your Microsoft admin email access to Microsoft Ads and having them connect Microsoft Ads to Dreamdata. This approach has proven effective. Additionally, if access expires and you need to reconnect Microsoft Ads to Dreamdata a few months later, you can use a different email to reestablish the connection instead of your Microsoft admin - Another solution is to invite a Gmail account to the Microsoft Ads platform, connect with Dreamdata Microsoft Ads using that Gmail.
Common errors
Errors are visible under the Microsoft Ads source page
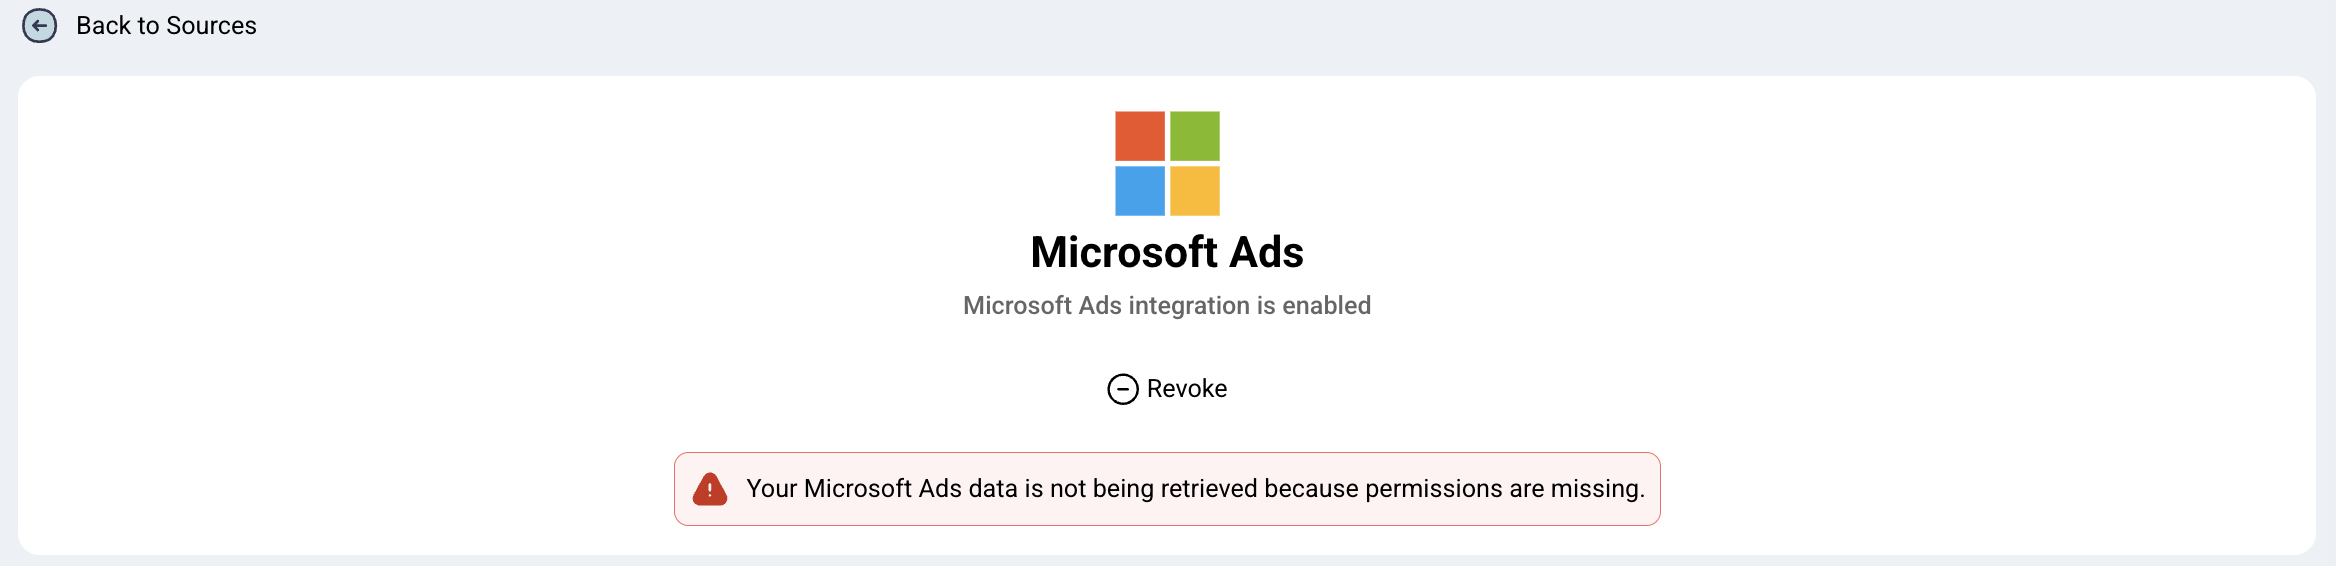
Error message | Explanation |
Your Microsoft Ads data is not being retrieved because permissions are missing. | We are unable to pull Microsoft Ads data from the enabled ad accounts because the permissions required are missing from the user used to enable the integration. The user needs one of the following roles with access to the needed accounts: Super Admin, Standard User, Advertiser Campaign Manager or Viewer |