Setting up Intercom
It can take up to 48 hours for the data to show in the Dreamdata app once you successfully integrated it.
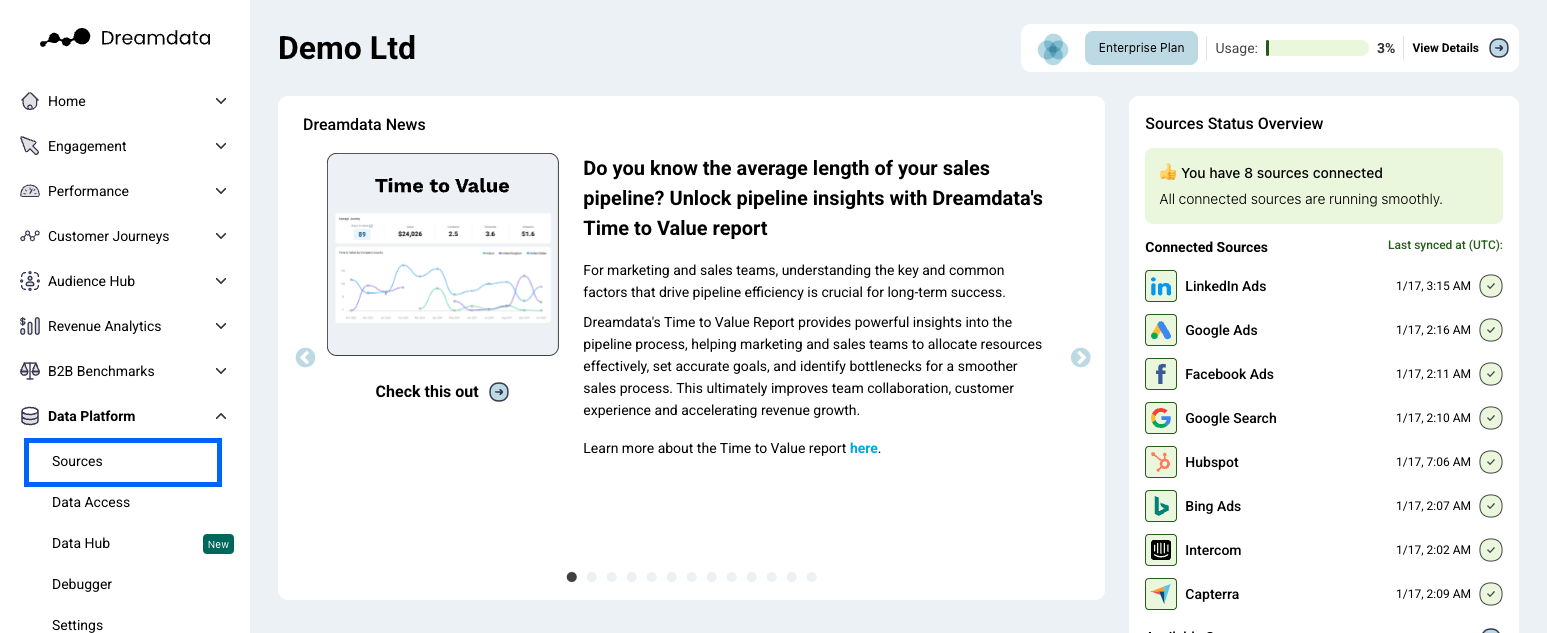
- On Dreamdata's main menu, click onto the Data Platform section, and thereafter “Sources".
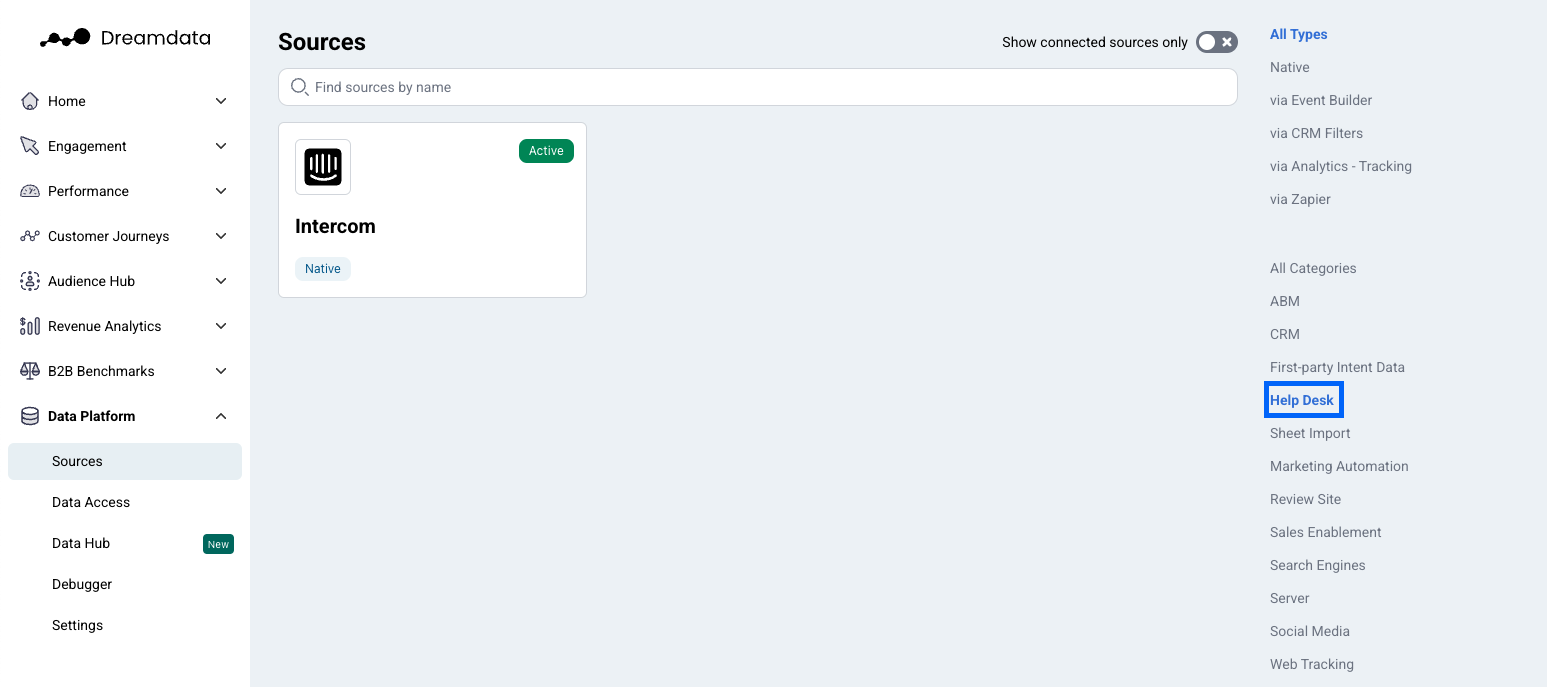
- On the Sources page, select "Intercom" from the Help Desk category or by searching for it, using the search bar.
- Click "Enable" (a new tab will open).
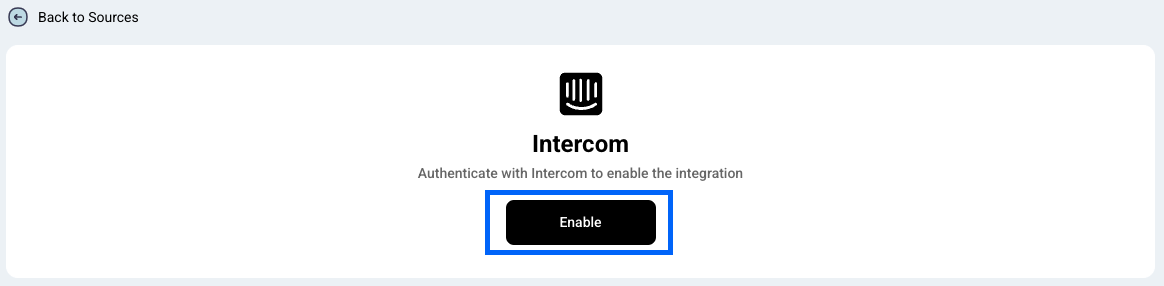
- In order to proceed you need to be signed in to your Intercom Account.
- Grant Dreamdata.io access by Clicking "Authorize Access".
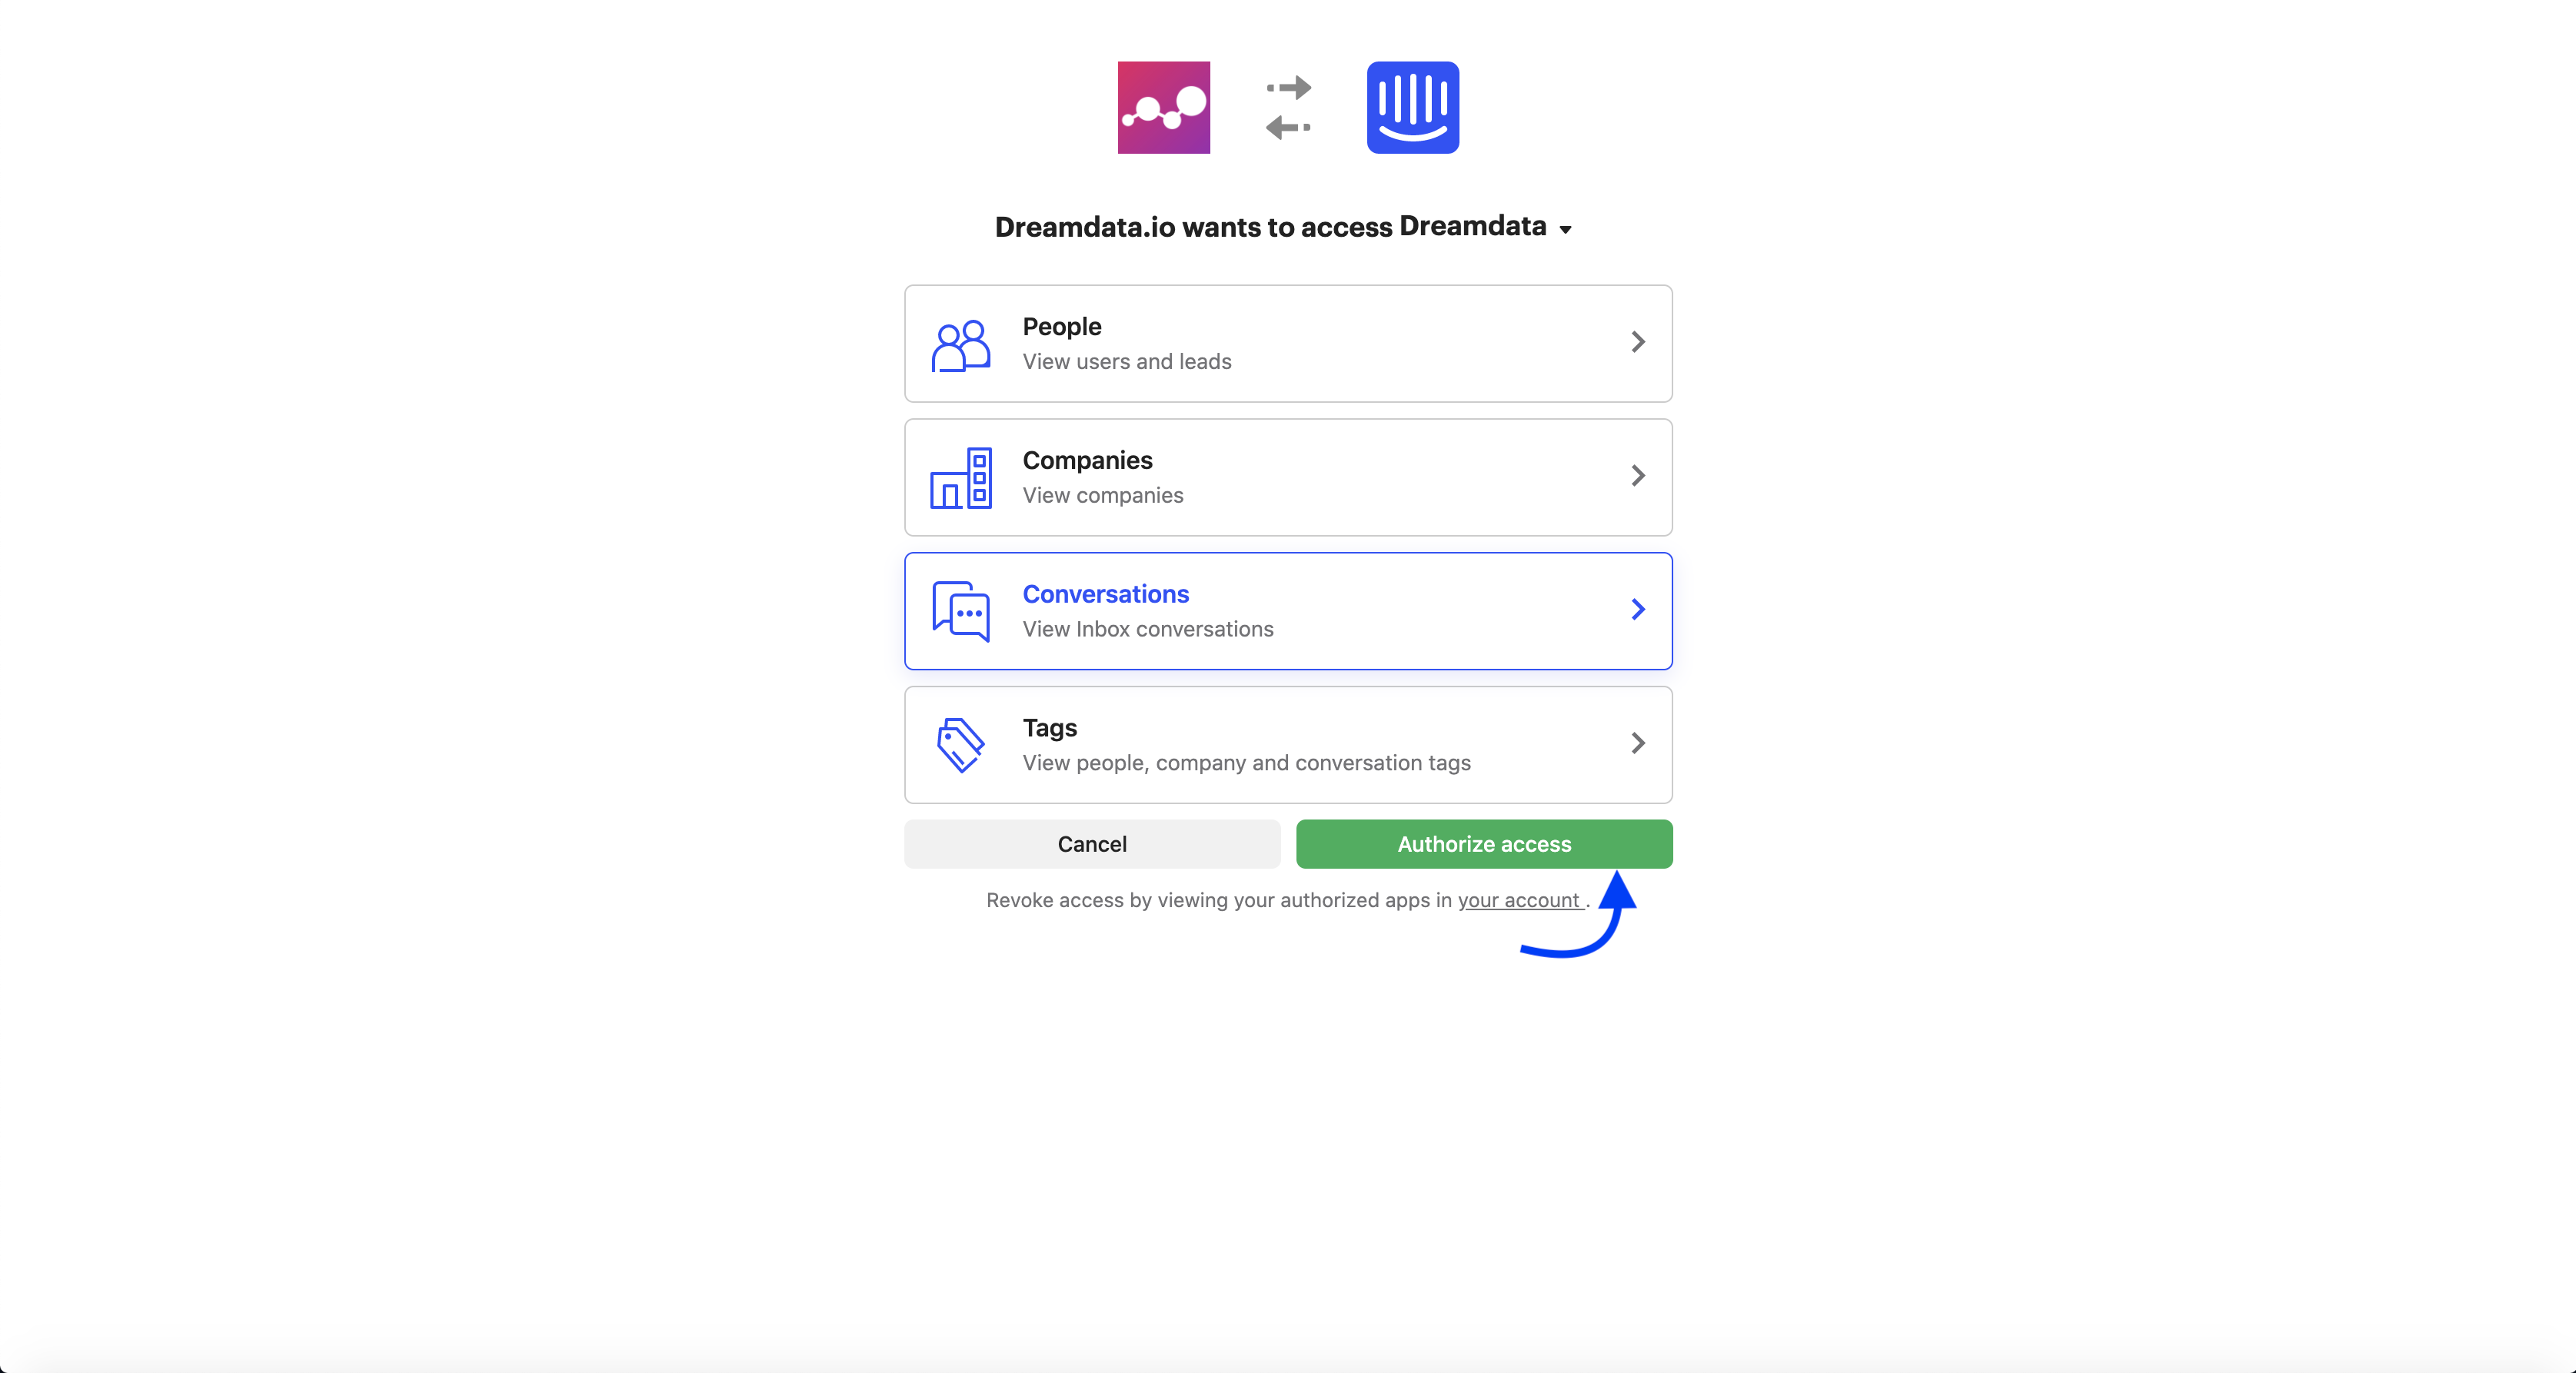
- You're all set 🔥 It can take up to between 24 – 48 hours before data begins to appear.
Access required
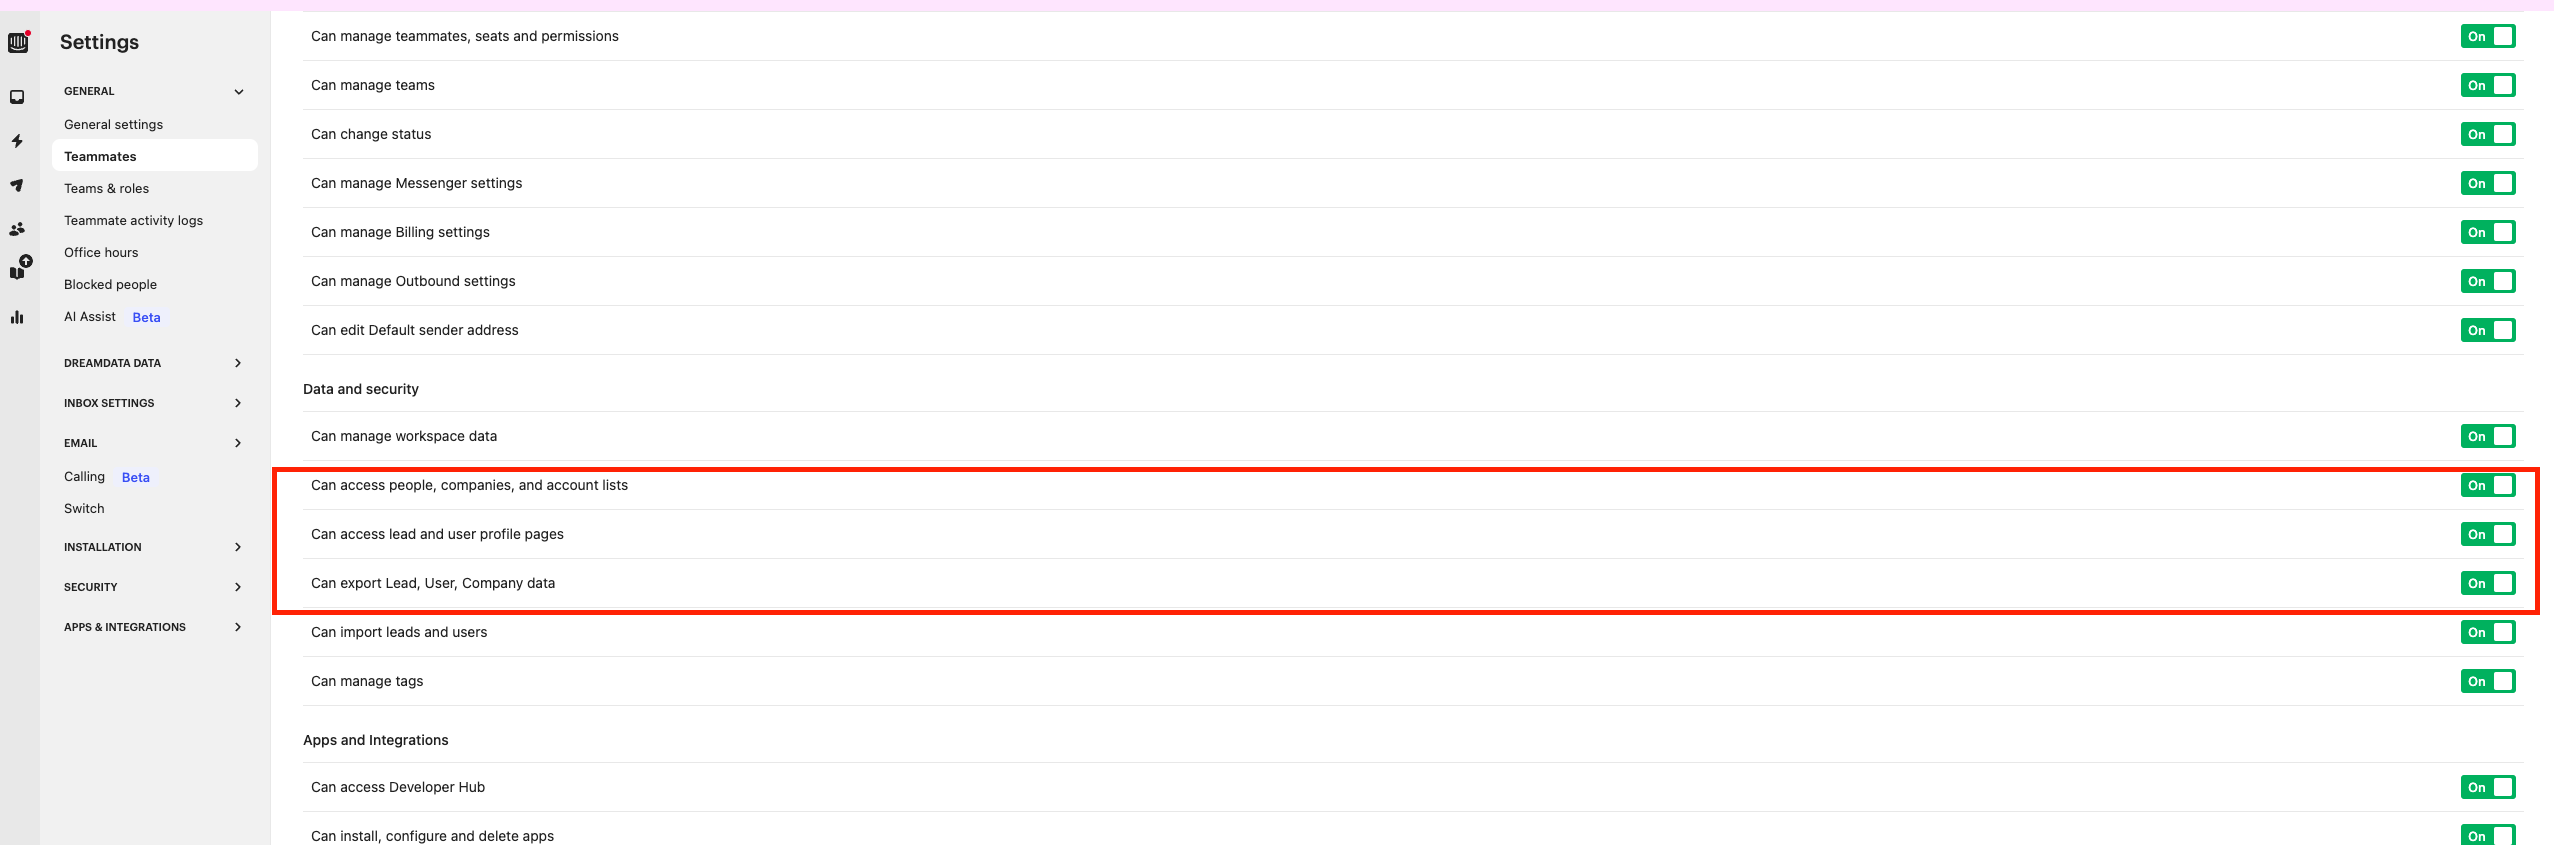
Make sure that the user creating the integration has the following permissions:
- access to people, companies and account lists
- access to lead and user profile pages lists
- export for lead, user and company data
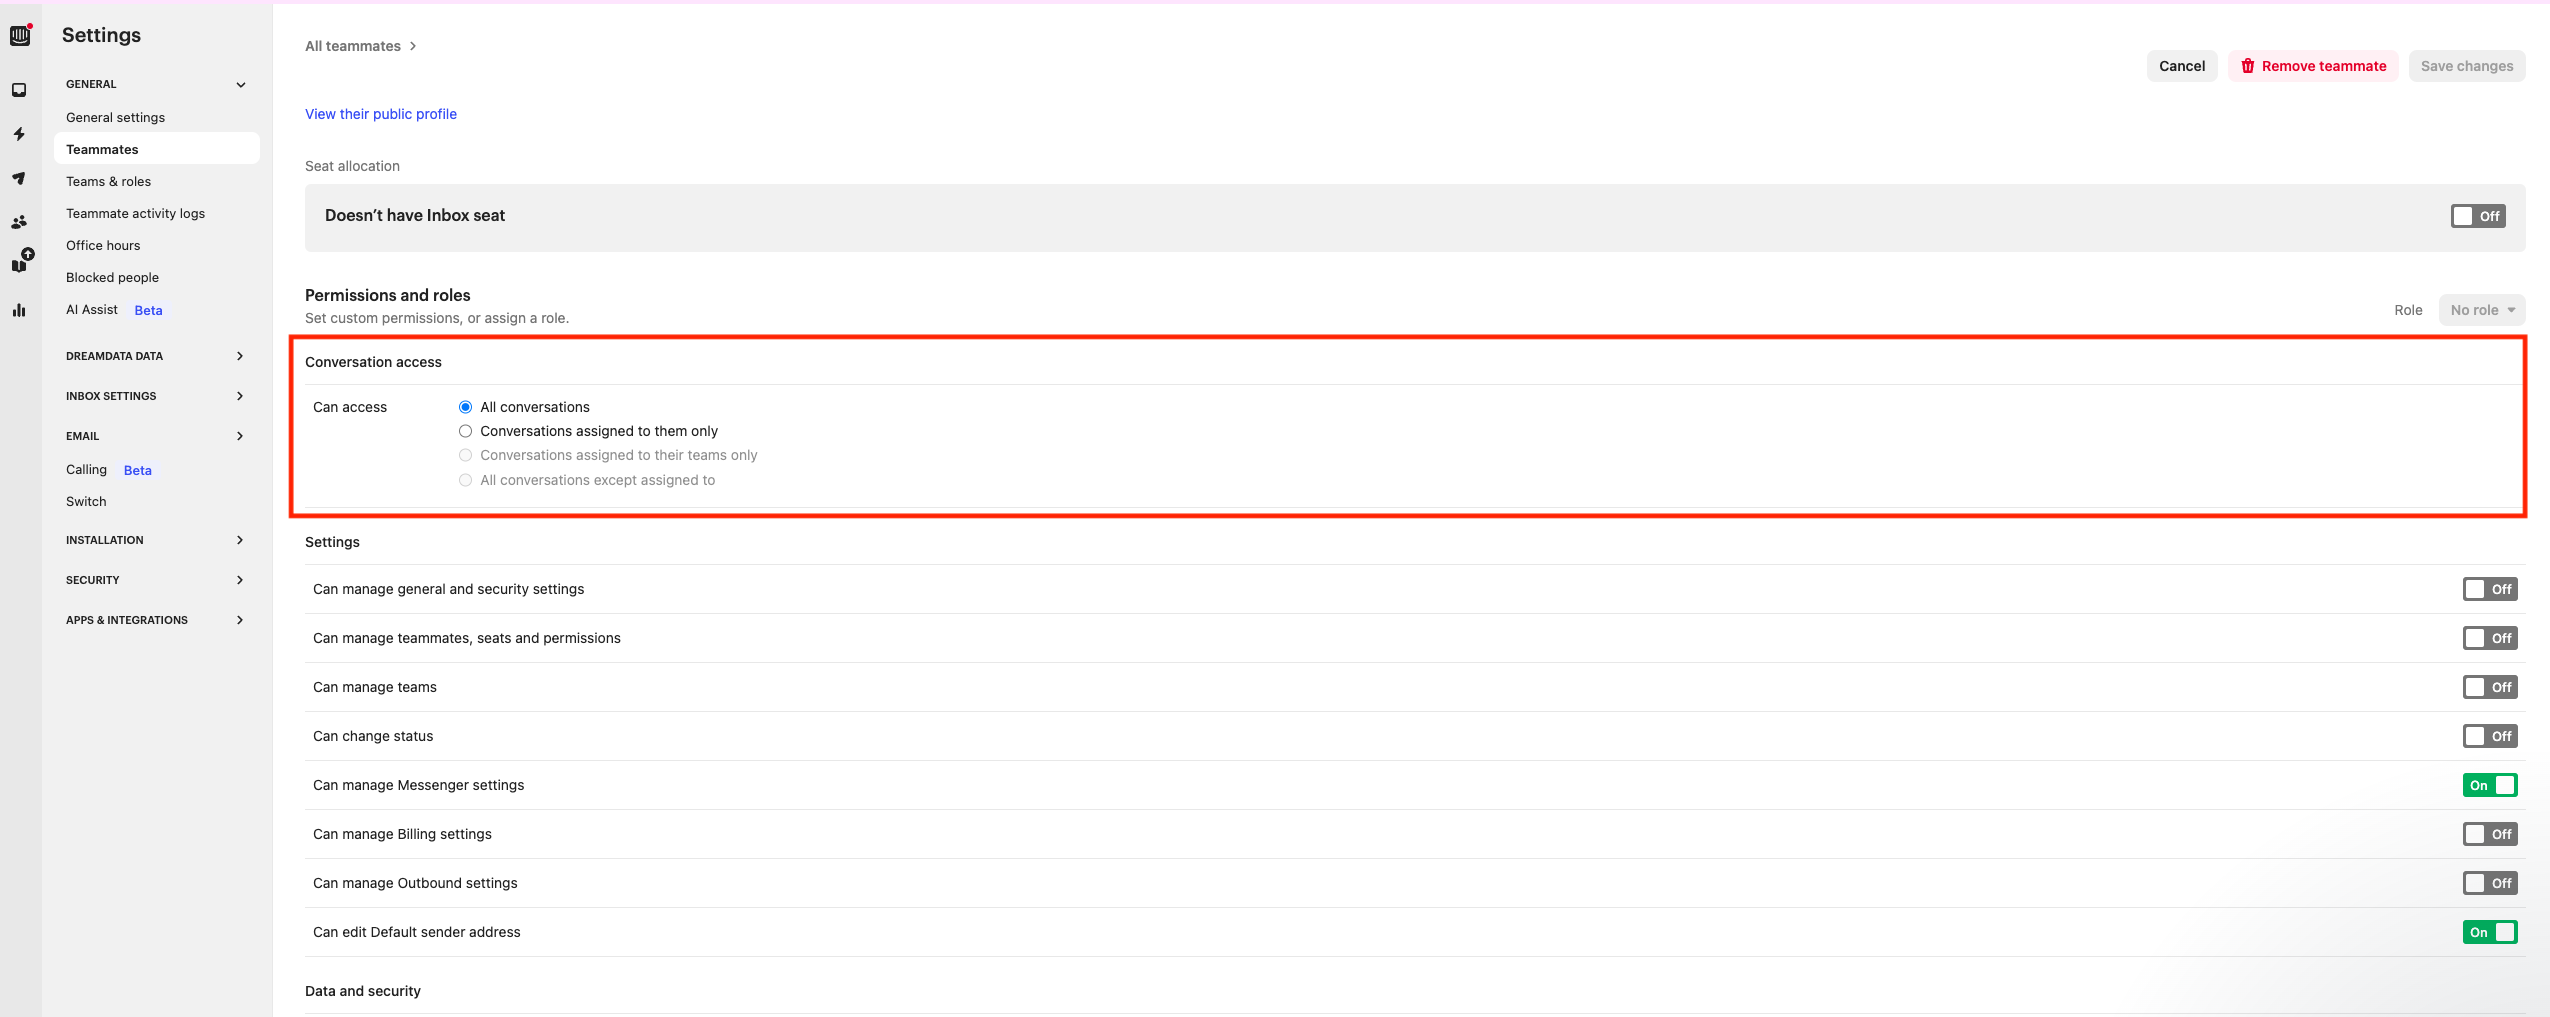
- access to all conversation
By default, we pull in the following objects (amount of historical data depends on what is available for your plan):
- Companies
- Contacts
- Conversations
We bring in both chats and emails, and we separate by the following definitions provided by Intercom:
- customer initiated
- admin initiated
- automated
- operator initiated
How will the data be mapped into Dreamdata:
- Conversations will be mapped to a company in your primary crm by the email address of the user
For touchpoints we set the following parameters
Event | channel | source | Medium |
Chat | Chat | Intercom | Chat |
Emails | Intercom |