AWS S3 V2

This feature is available as an add-on for the following plans:
- Business
- Enterprise
Data Warehouse AWS S3 is a secure way to get a dump of the data platform sent to an S3 bucket in your own AWS organization using a dedicated IAM Role.
The Data Platform gives you access to a raw dump of the database tables that Dreamdata uses to build all its insights around. Having access to the raw data enables you to both, load this into any existing database platform that can load data from S3, such as Redshift and Snowflake, as well as to create insights tailored to specific needs that your organization might have.
The guide below helps you to set up an S3 bucket and describes how to create an IAM Role that grants access to the aforementioned bucket, but also allows Dreamdata to assume control of it, so that we can send data to your organization.
Guide
The following steps describe how to create a role that will allow Dreamdata to push data to an S3 bucket in your AWS organization in a safe and secure manner.
This guide will cover the following 4 steps:
- Create or select an S3 bucket as the destination of the data
- Create a new role dedicated to this purpose and give it an identifying name, eg.
dreamdata-data-platformthat Dreamdata will assume control of when copying data - Create a trust relationship policy for the
dreamdata-data-platformrole that allows Dreamdata tostsAssumeit and act on its behalf given a specifiedexternalID - Create a policy for the
dreamdata-data-platformrole that will grant access to the bucket and permissions to create folders and write files.
Permissions
The person performing these steps must have the necessary permissions in your own AWS organisation to:
- Create buckets and edit bucket policies
- Create roles in the customer's AWS organisation
- Edit trust and permission policies on roles
1. Create a new S3 bucket
Create a new bucket inside your AWS organization (or select an already existing bucket) and copy the name, not the ARN, of the bucket. Bucket names are global, so be sure to name it something unique when creating it or it might fail. Here is an official guide on how to do just that.
Dreamdata does not delete previous data dumps, so we recommend that a storage lifecycle policy is put in place to limit the data size, to make sure that the folder does not grow indefinitely. A value of 7 days would be a sensible value, but it can vary depending on your use-case.
Throughout the rest of this guide, we will refer to the bucket created in this step using the <S3_BUCKET> placeholder.
2. Create a new role
stsAssume. The ARN of this role is:-
arn:aws:iam::485801740390:role/dreamdata_destination_s3Under IAM > Roles, click the Create role and perform the following sub-steps:
- Trusted Entity Type: select "AWS account"
- An AWS account: select "Another AWS account" and enter
485801740390(the Dreamdata organization ID) - Options: select "Require external ID (Best practice when a third party will assume this role)" and enter your Dreamdata External ID, which can be found in Data Platform -> Data Access -> AWS S3 in the Dreamdata App.
- using an
External IDguards against the confused deputy problem
- using an
- In the next step, create the following policy and select it in the list - remember to replace
<S3_BUCKET>with the actual bucket created in Step 1:{
"Version": "2012-10-17",
"Statement": [
{
"Sid": "DreamdataDataPlatform",
"Effect": "Allow",
"Action": [
"s3:PutObject",
"s3:PutObjectAcl",
],
"Resource": [
"arn:aws:s3:::<S3_BUCKET>/*",
"arn:aws:s3:::<S3_BUCKET>"
]
}
]
} - Click the Next button.
- On the next screen, specify the role name optionally a description, before clicking Create.
- Now that the role is created, we need to configure it. Find and select it, before performing the following step(s):
- Required step: We need to make sure that only the dedicated Dreamdata role
arn:aws:iam::485801740390:role/dreamdata_destination_s3can assume this role, by further restricting the trust policy. To do that, we update thePrincipalin the policy like so:{
"Version": "2012-10-17",
"Statement": [
{
"Sid": "DreamdataStsPolicy",
"Effect": "Allow",
"Principal": {
"AWS": "arn:aws:iam::485801740390:role/dreamdata_destination_s3"
},
"Action": "sts:AssumeRole",
"Condition": {
"StringEquals": {
"sts:ExternalId": "<customer-dreamdata-account-id>" // this is your account ID in the dreamdata system
}
}
}
]
} - Conditional step: When using bucket KMS encryption, the role also needs the
GenerateDataKeyandDecryptpermissions on the bucket. Either add these permissions to the above policy, or attach a new policy to the role containing the following:{
"Version": "2012-10-17",
"Statement": [
{
"Sid": "KMSEncryption",
"Effect": "Allow",
"Action": [
"kms:GenerateDataKey",
"kms:Decrypt"
],
"Resource": "<YOUR_KMS_KEY_ARN>"
}
]
}
- Required step: We need to make sure that only the dedicated Dreamdata role
These are all the required steps.
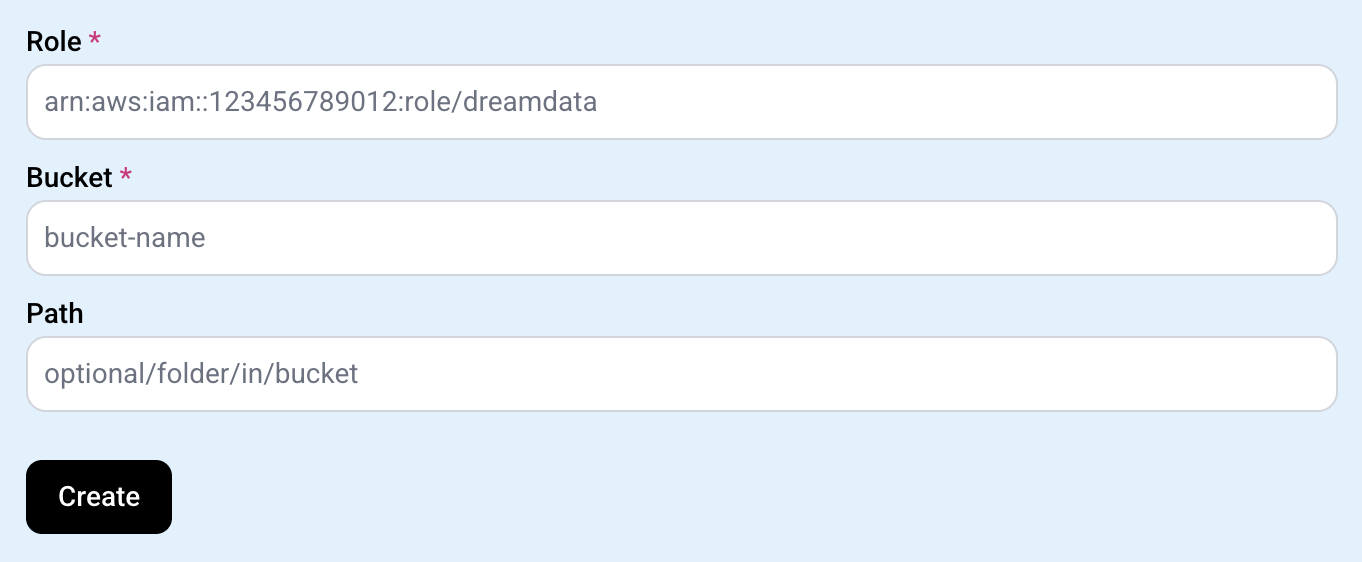
To finalise the steps, you will need to paste these values in the fields on the page Data Platform -> Data Access -> AWS S3 in the Dreamdata App:
- the Role
ARNthat was created in Step 2. - the bucket name of the bucket created in Step 1 (not the
ARN).
How the Data looks
- The different tables and their schemas are documented here.
- Each folder contains a complete dump of the table in the ndjson (newline delimited json) format.
Data will appear in the bucket using the structure shown below. If a Path is optionally specified in the Dreamdata App, all files will be nested under it.
The following examples assume that no Path is configured, with the files being placed at the root level of the bucket:
receipt.json
2023-01-02T15/attribution/attribution_*.ndjson.gz
2023-01-02T15/companies/companies_*.ndjson.gz
2023-01-02T15/contacts/contacts_*.ndjson.gz
2023-01-02T15/events/events_*.ndjson.gz
2023-01-02T15/spend/spend_*.ndjson.gz
2023-01-02T15/stages/stages_*.ndjson.gz
Inside each folder are one or more ndjson gzip files. Here, the files inside the companies folder are shown:
2023-01-02T15/companies/companies_000000000000.ndjson
2023-01-02T15/companies/companies_000000000001.ndjson.gz
...
A receipt.json file is created/updated upon every successful data dump, containing a description of all dumped data, including the following fields:
-
timestamp: RFC3339 timestamp -
tables: is an object with an entry for each exported table, each of which is an object with the following fields:folder: the path to the folder with the latest dump for that typetotal_file_count: number of files in the dump, for this tableschemas: this contains a link to the bigquery schema dump. This is a good starting point when wanting to translate the data into the supported data structures in your own data warehouse.
{
  "timestamp": "2023-03-14T04:03:07.963883Z",
  "tables": {
    "companies": {
      "folder": "2023-03-14T04/attribution",
      "total_file_count": 58
      "schemas": {
        "bigquery": 2023-01-02T15/schemas/bigquery/attribution.json
      },
    },
    ...
  }
}
An S3 trigger can be set up to fire whenever this file is updated.
Each entry in the list tables can be used to automate the loading of the data using either a lambda function or similar, iterating over it and performing a load operation on the folder value.
Schedule
A full dump of each data platform table is created after each successful Data Modelling run.