Setting up SafeBase Integration
Prerequisites:
- A Safebase account with "All Access" tier.
- A Zapier account with Pro subscription.
Create a Zapier Webhook
- Create a new Zap

- Click on Trigger and pick Webhooks by Zapier
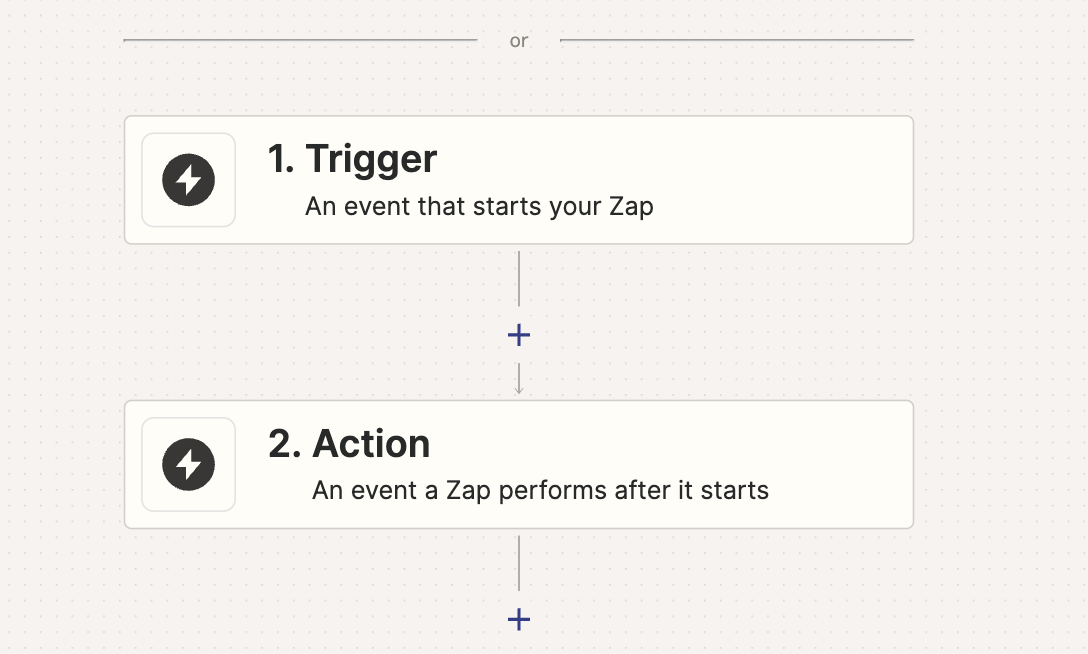
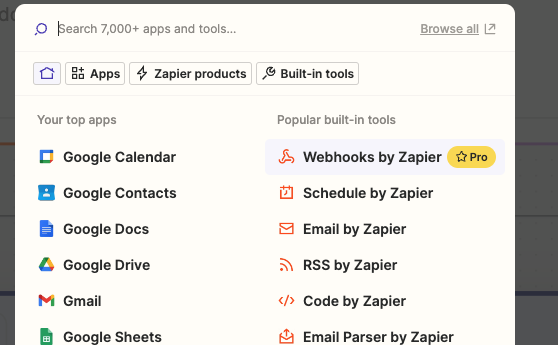
- Once you have your new Zap, Under Event, Choose "Catch Hook"

- Click Next, and next again on the Trigger tab, we need to get to the Test tab in order receive our webhook URL. COPY IT!

- Now Proceed to your Safebase account.
Setup Safebase Webhook
We need to enable the Webhook within your Safebase account.
- Go to Settings > Integrations

- Enable Webhooks.

- Click on the Gear icon next to Disconnect.
- Click +Add Endpoint

- Paste your Zapier Webhook URL, choose any events you want to send to Dreamdata, and click Create.

- We highly recommend:
- portal.viewed
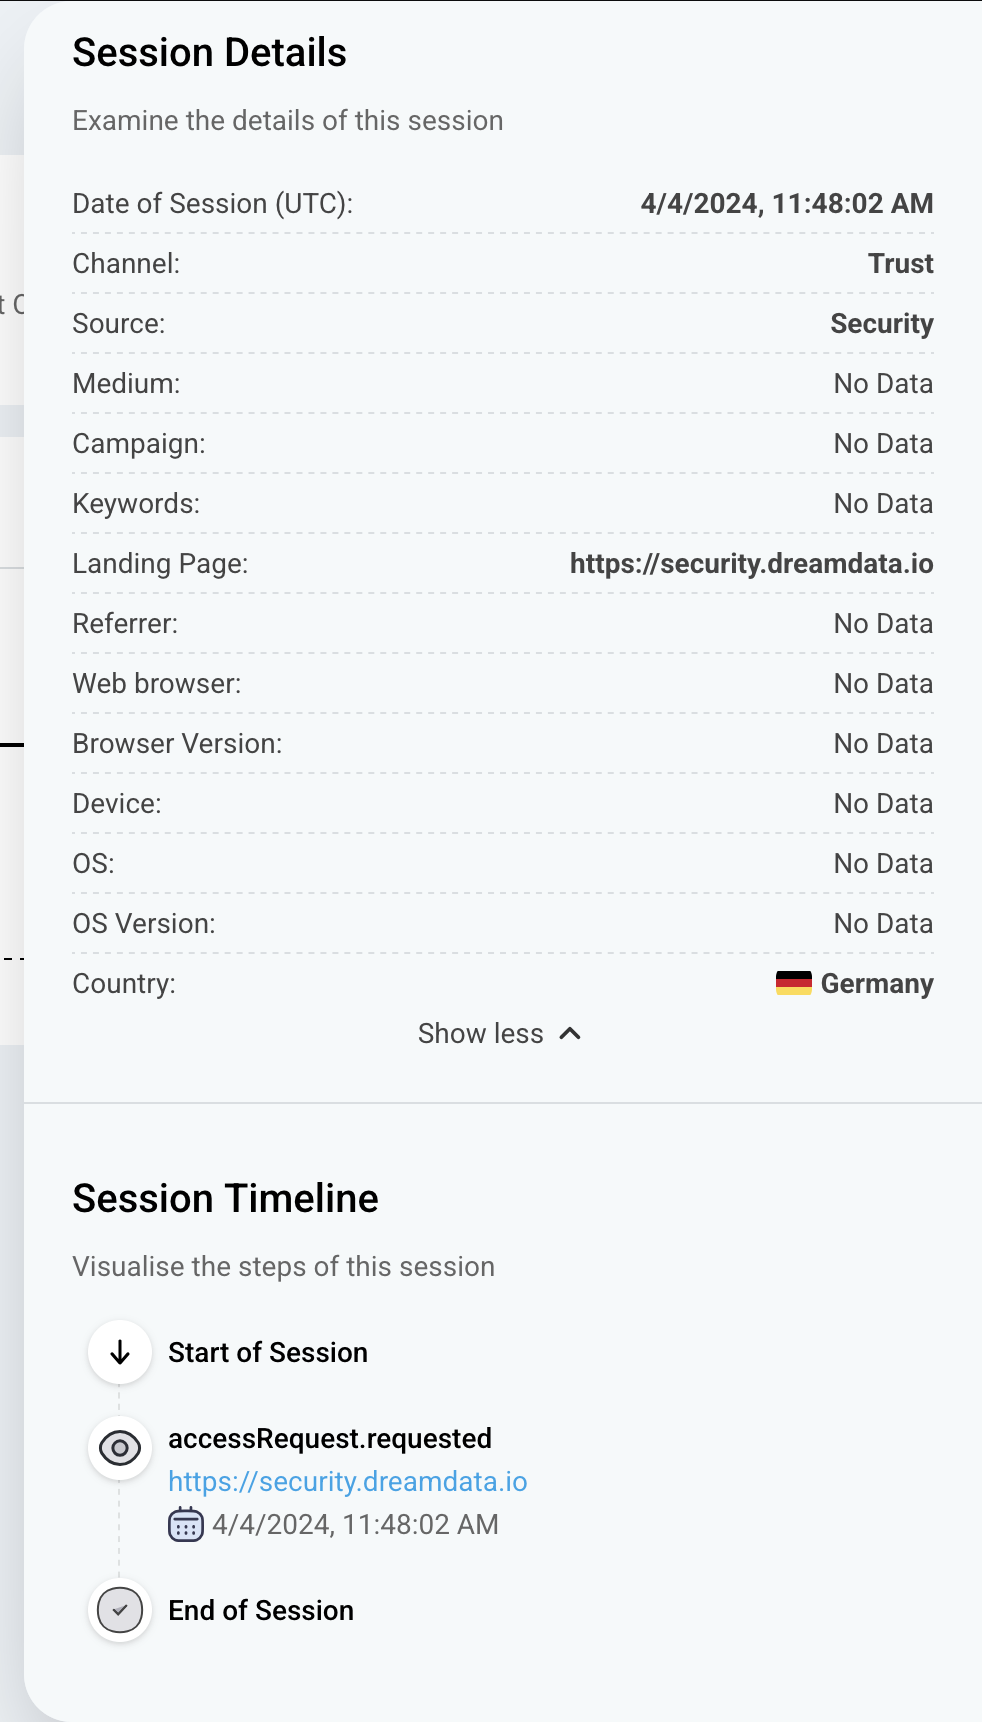
- accessRequest.requested
- portal.file.viewed
- portal.file.downloaded
- We highly recommend:
- Once we have this configured you are ready for the next step.
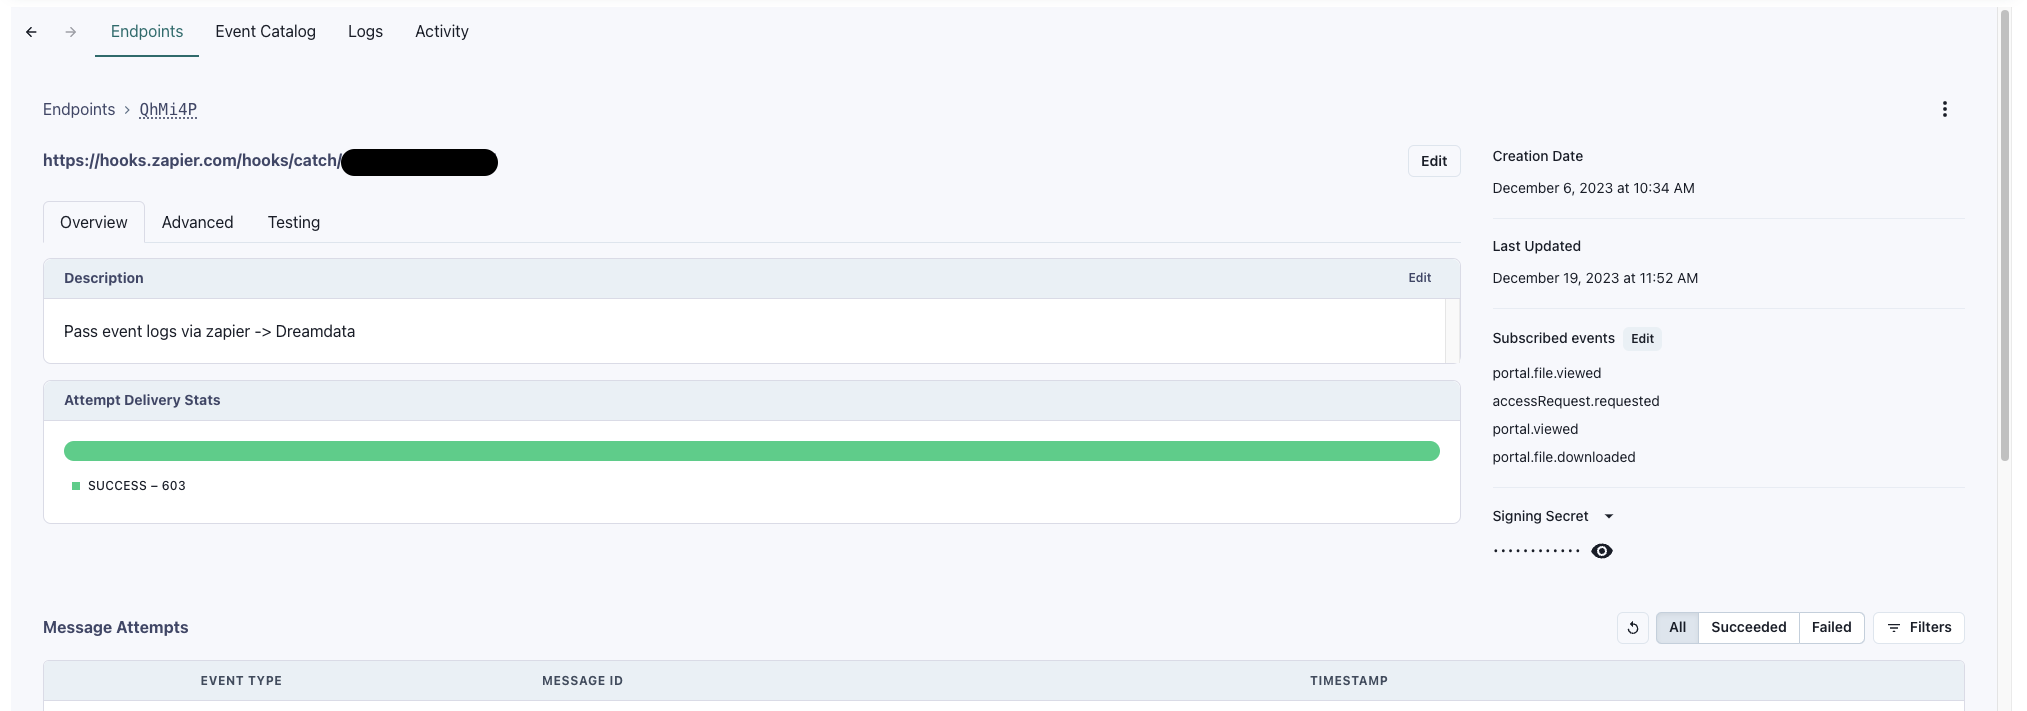
- Lets head back to Zapier
Setup Import Events Data Google Sheet.
Connect Zapier to Google Sheet
- Back in Zapier, and on your new Zap, Click Action

- Choose Google Sheets and on the right side, under Event, pick Create Spreadsheet Row and Continue


- Connect Zapier to your Google Workspace account. Click Continue


- Follow the Guide under Action to:
- Connect to your copy of the Import Events Spreadsheet.
- Populate the form with the matching fields.
- Click Continue and Test the results.

- You should have a result in your google sheet now. Click Publish in Zapier.

Add spreadsheet in the dreamdata portal
From within the Dreamdata App:
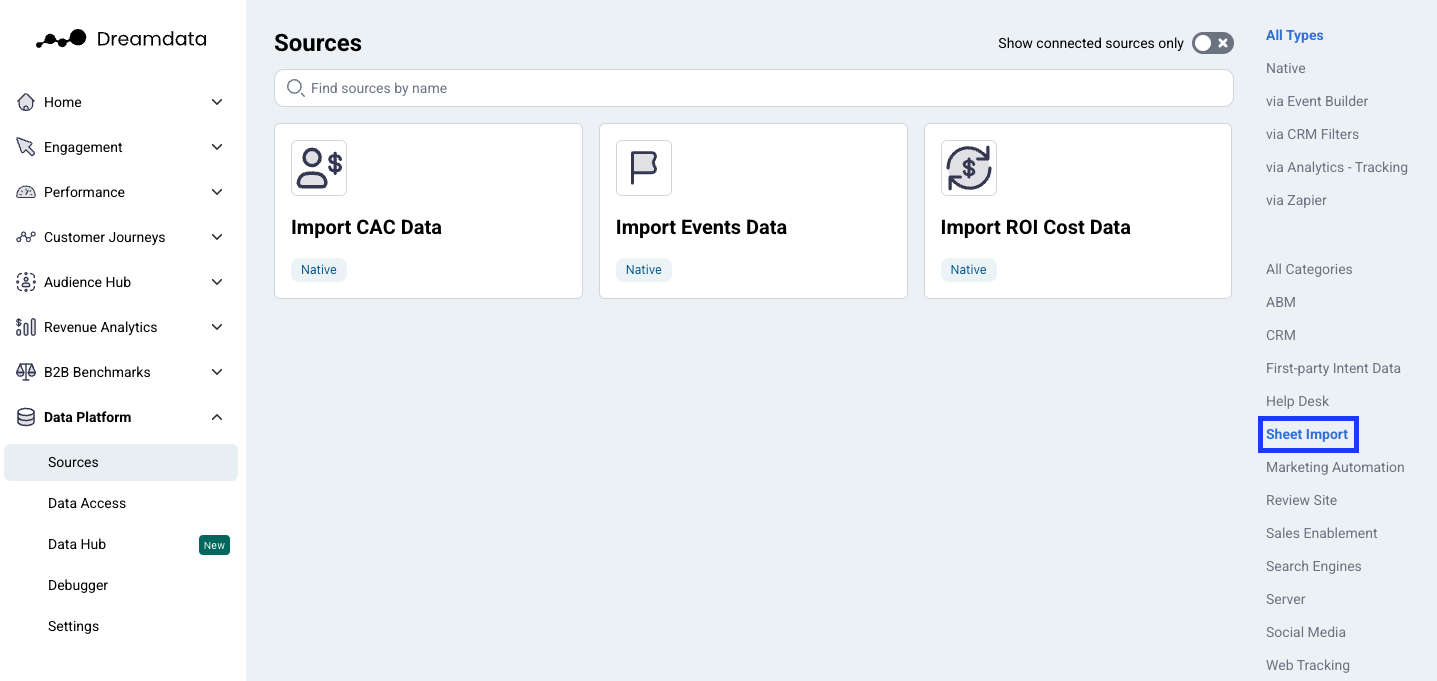
- In the left hand side menu, choose Data Platform > Sources
- Click "Import Events Data". Find it by either searching for it or clicking "Sheet Import" in the right menu.
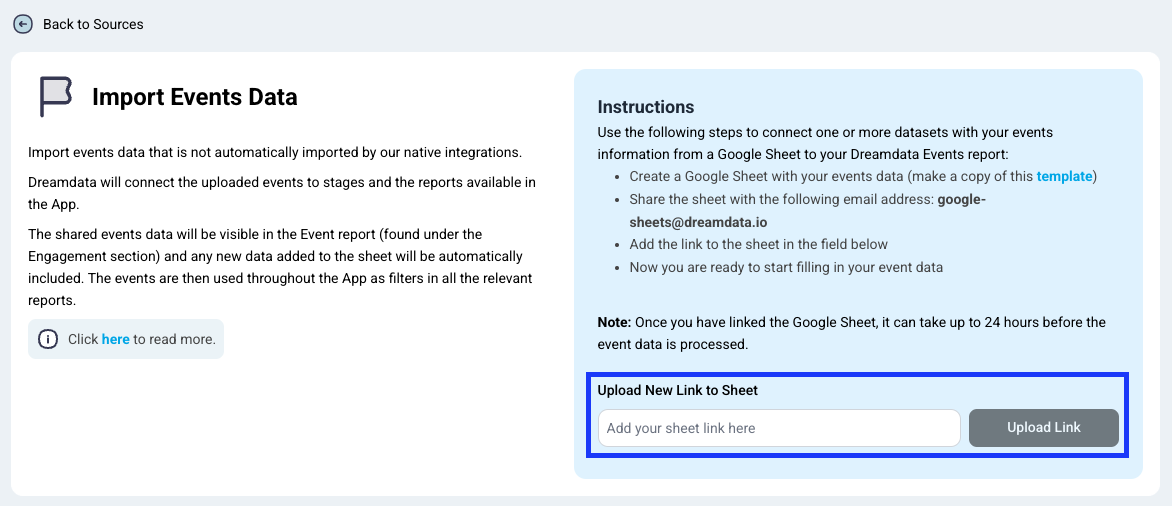
- Copy the Link to your Google Sheet.

- Paste into the Dreamdata App and click Upload Link.
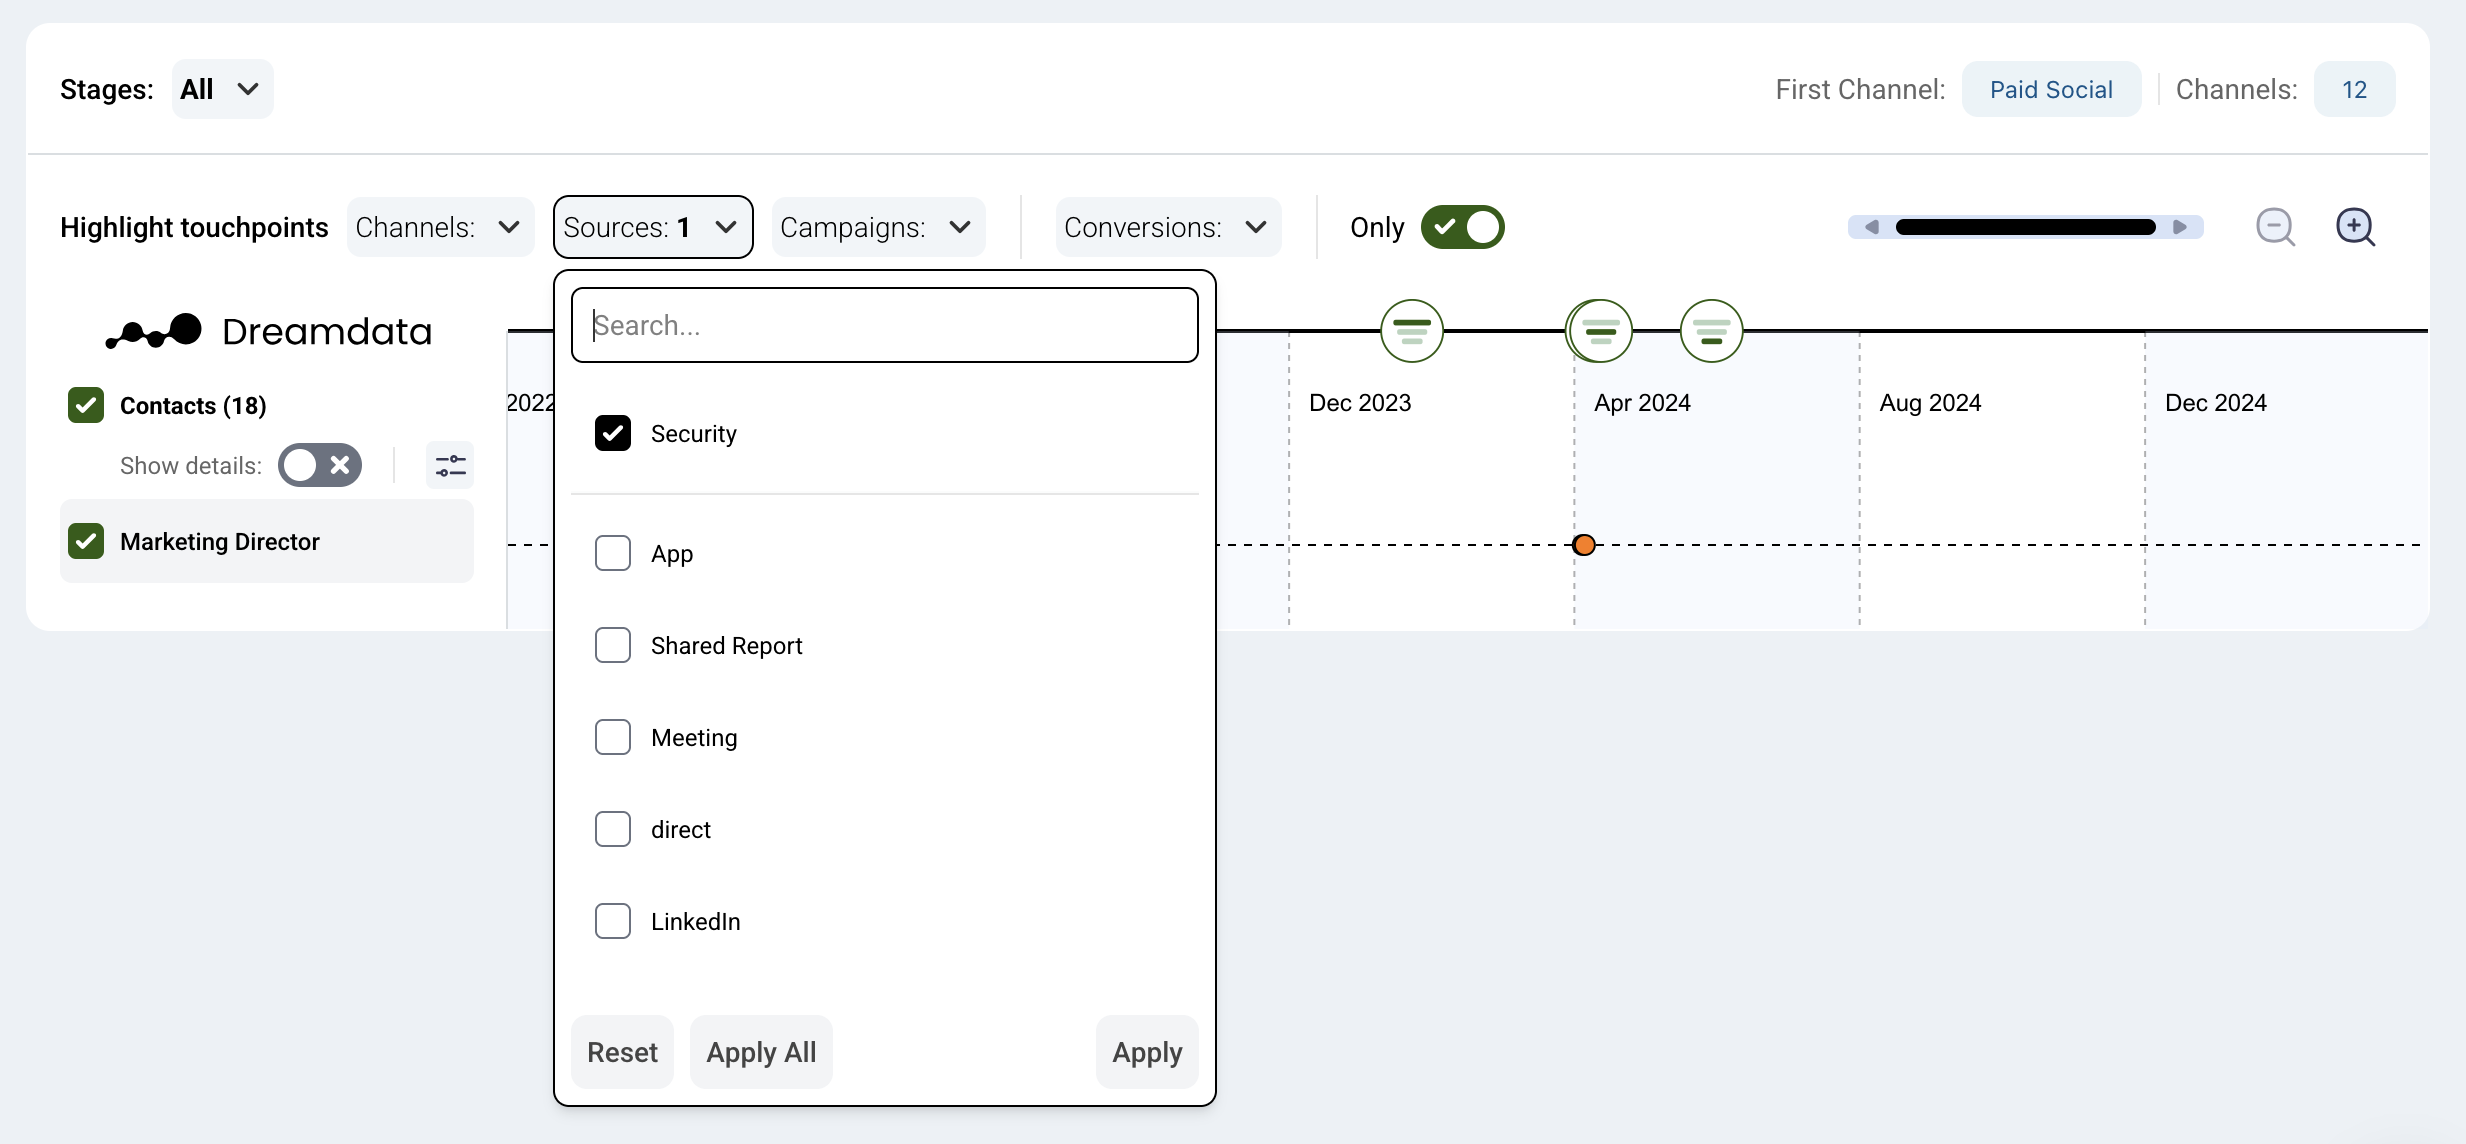
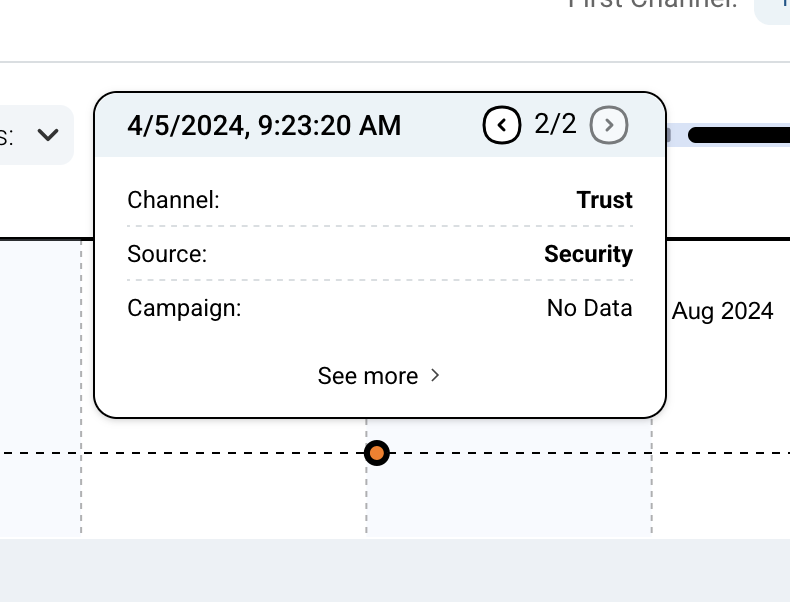
- After 24 hours, you should start receiving new events in the Customer Journey dashboard.
